Vultr.com is a popular cloud infrastructure provider offering various services, including virtual private servers (VPS), cloud servers, and bare metal servers. Whether you’re a you’re a webmaster, developer, business owner, or blogger seeking reliable and cost-effective cloud solutions, this article will provide all the information you need to get started with Vultr.

Sign Up for a Vultr Account
Receive $300 Free Credit
Vultr Coupon 303$ Free Credit (30 Days) HOT
To register for a Vultr account, follow these instructions:
Visit the Vultr website by clicking here and selecting the “Create Account” option.
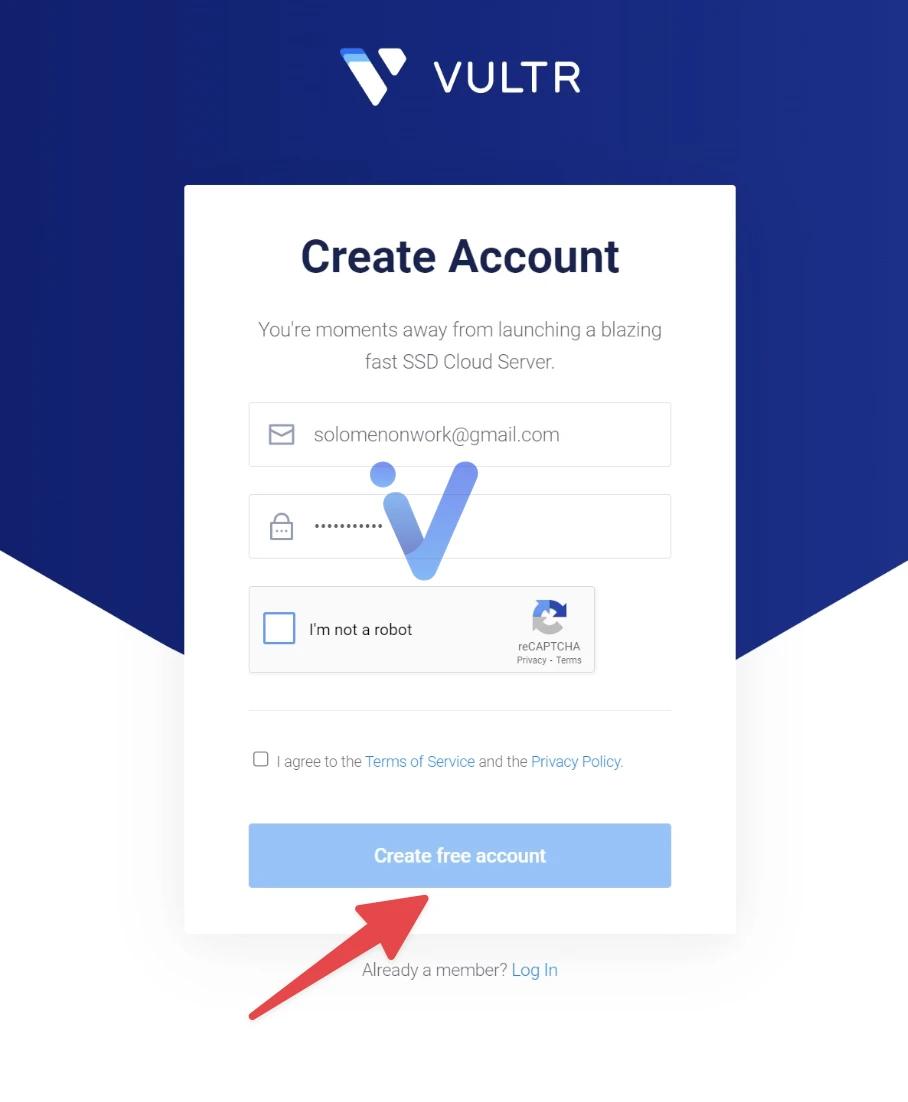
Input your email address and set up a password. The password must be 10 characters long and contain at least 1 uppercase letter, 1 lowercase letter, and 1 numeral.
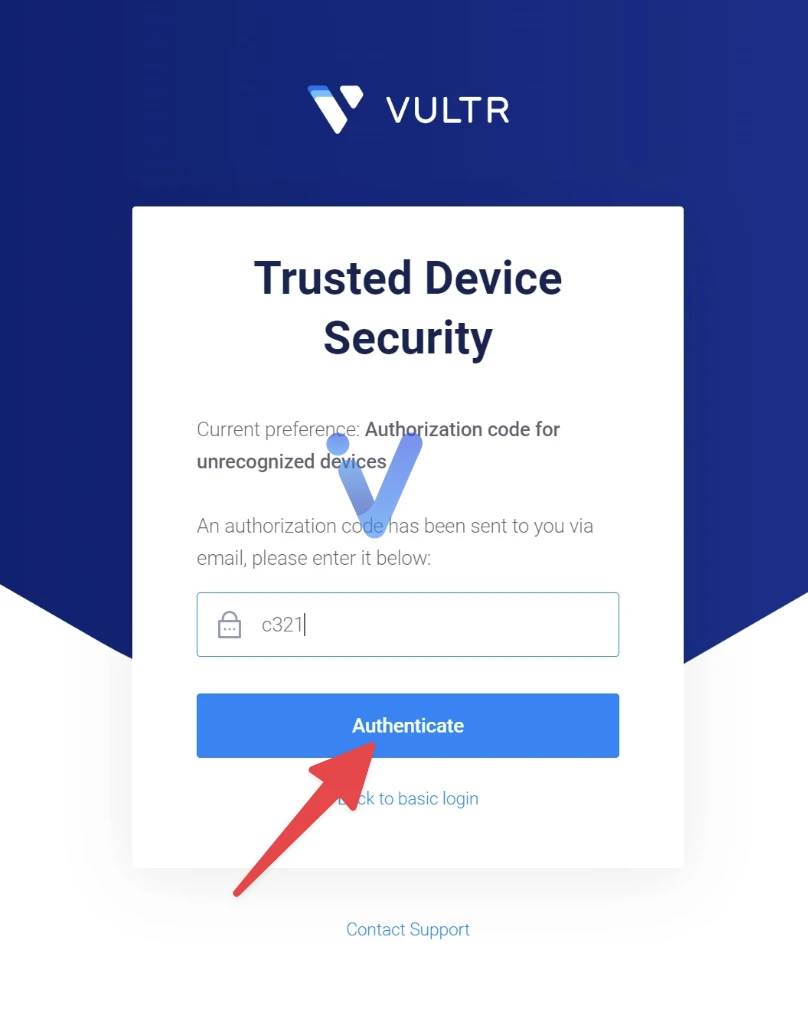
Press the “Create Account” button. You will receive a verification email from Vultr with an authentication code.
After verifying your account, you can log into the Vultr control panel and utilize Vultr’s services.
Adding A Payment Method

When verifying your account, click “Add a Payment Method.” To receive the $300 free credit, you must add a credit card.
Note: The $300 free credit will not combine with any other coupon, so choose which deals you really want to use.
If you want to use other deals, copy and paste the coupon code into the box (Enter Code). Hit Apply to get the free credit or discount.
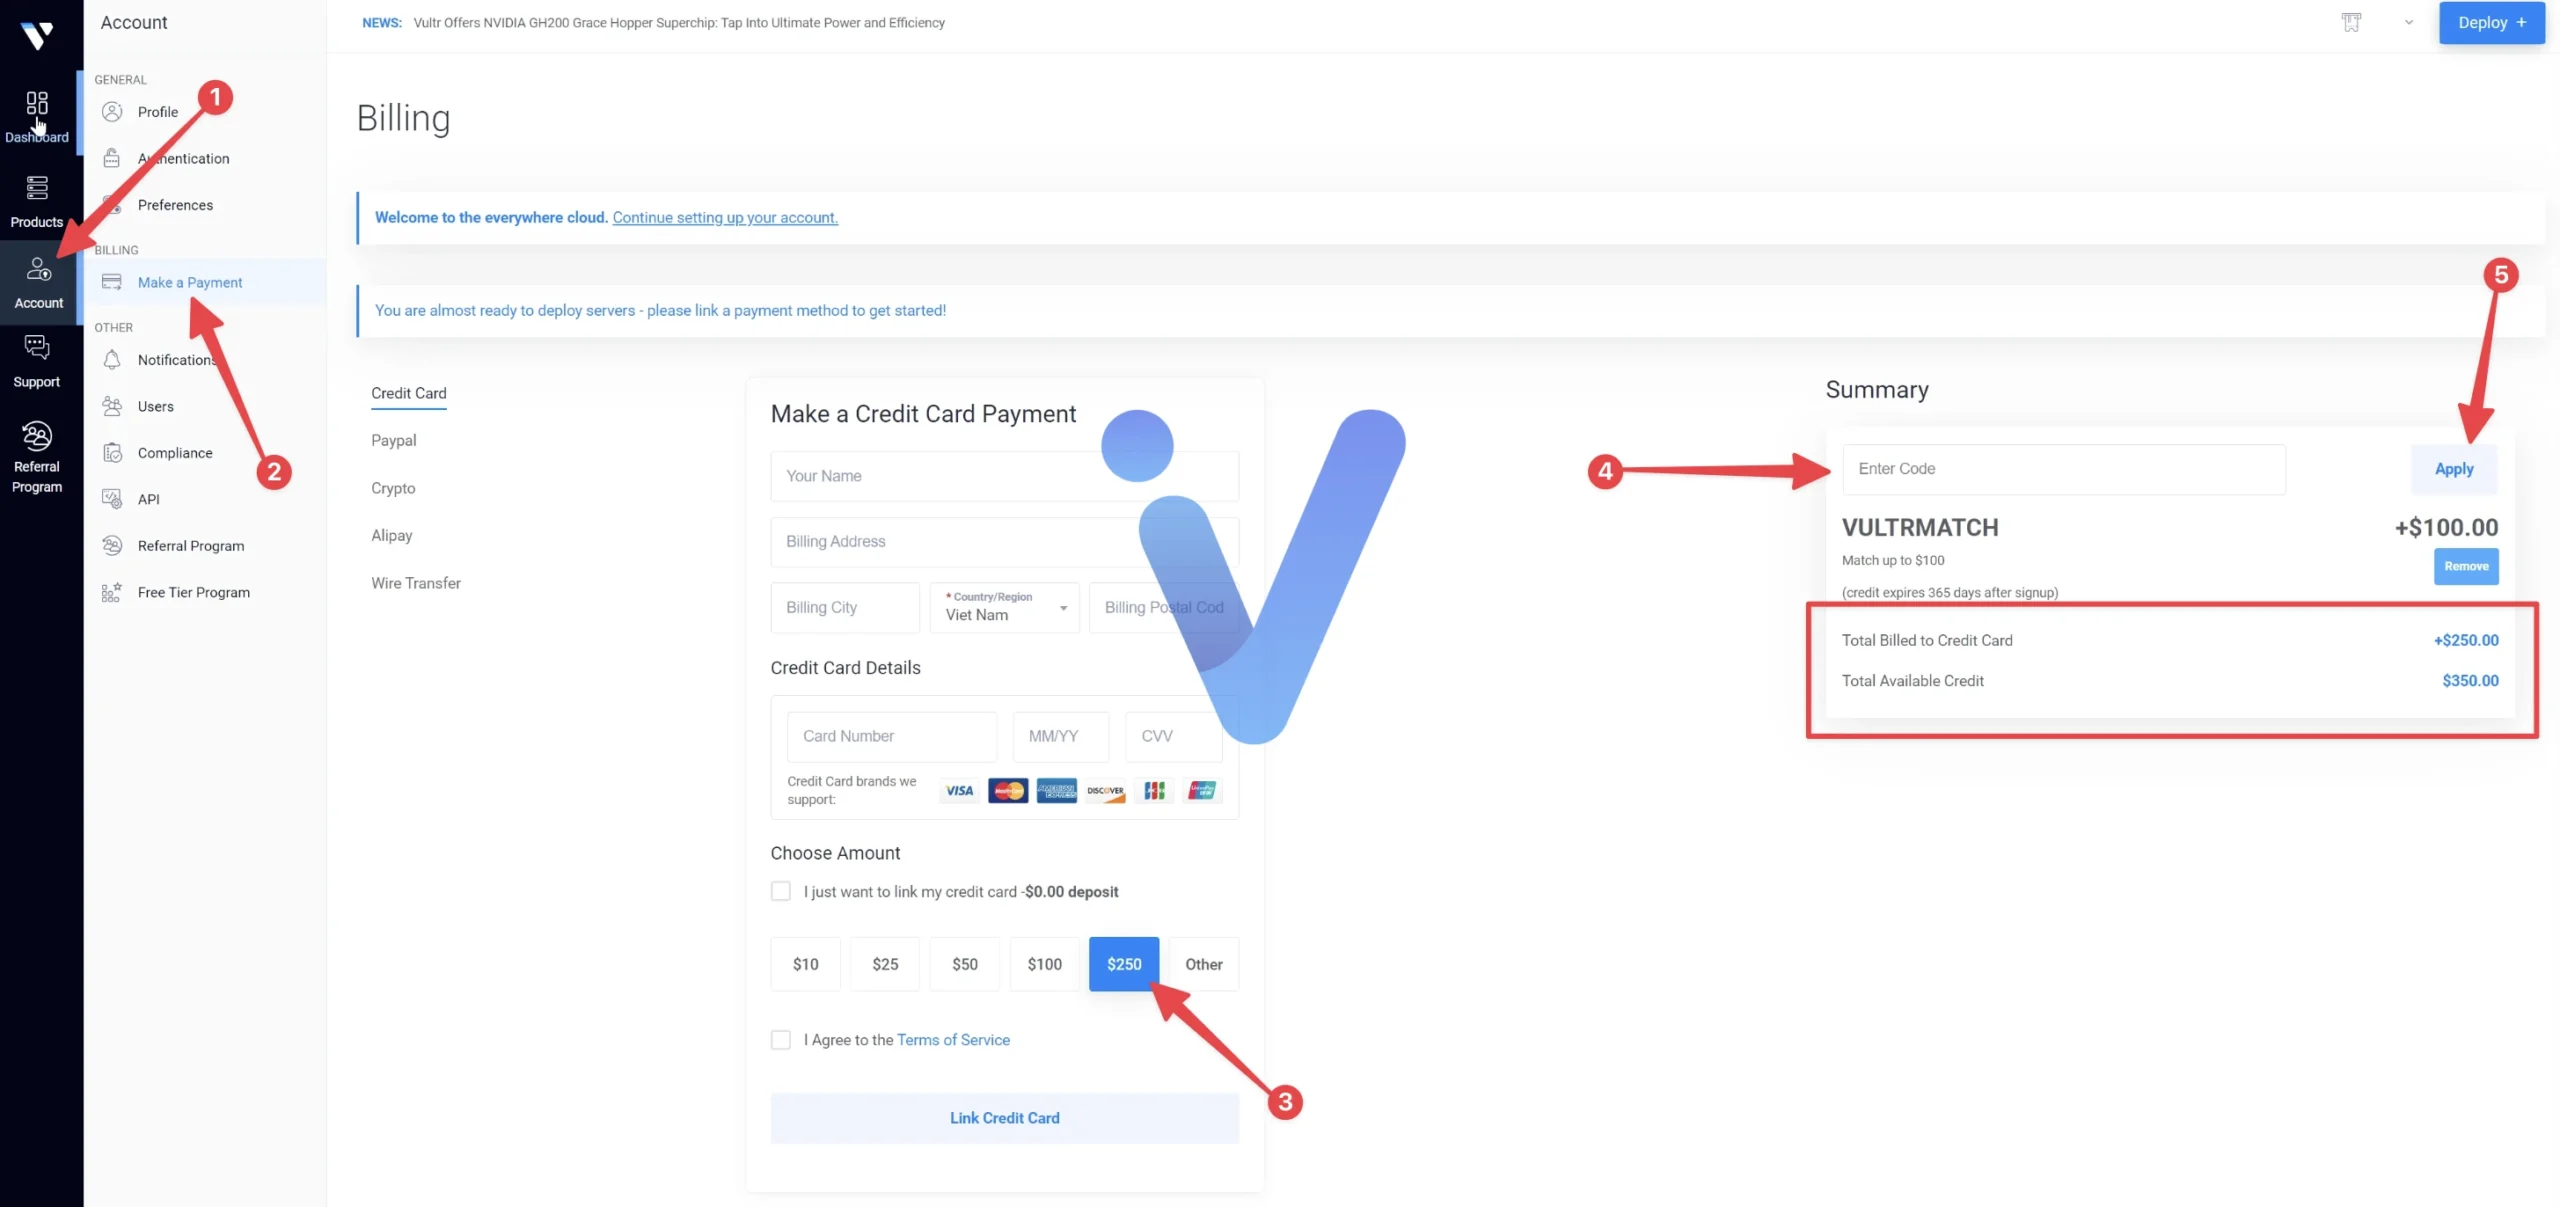
Here are some of the best coupons you can use:
Vultr Promote Code 103$ Free Credit (365 Days)
Get Vultr $203 Coupon for New Customers
Complete Your Profile
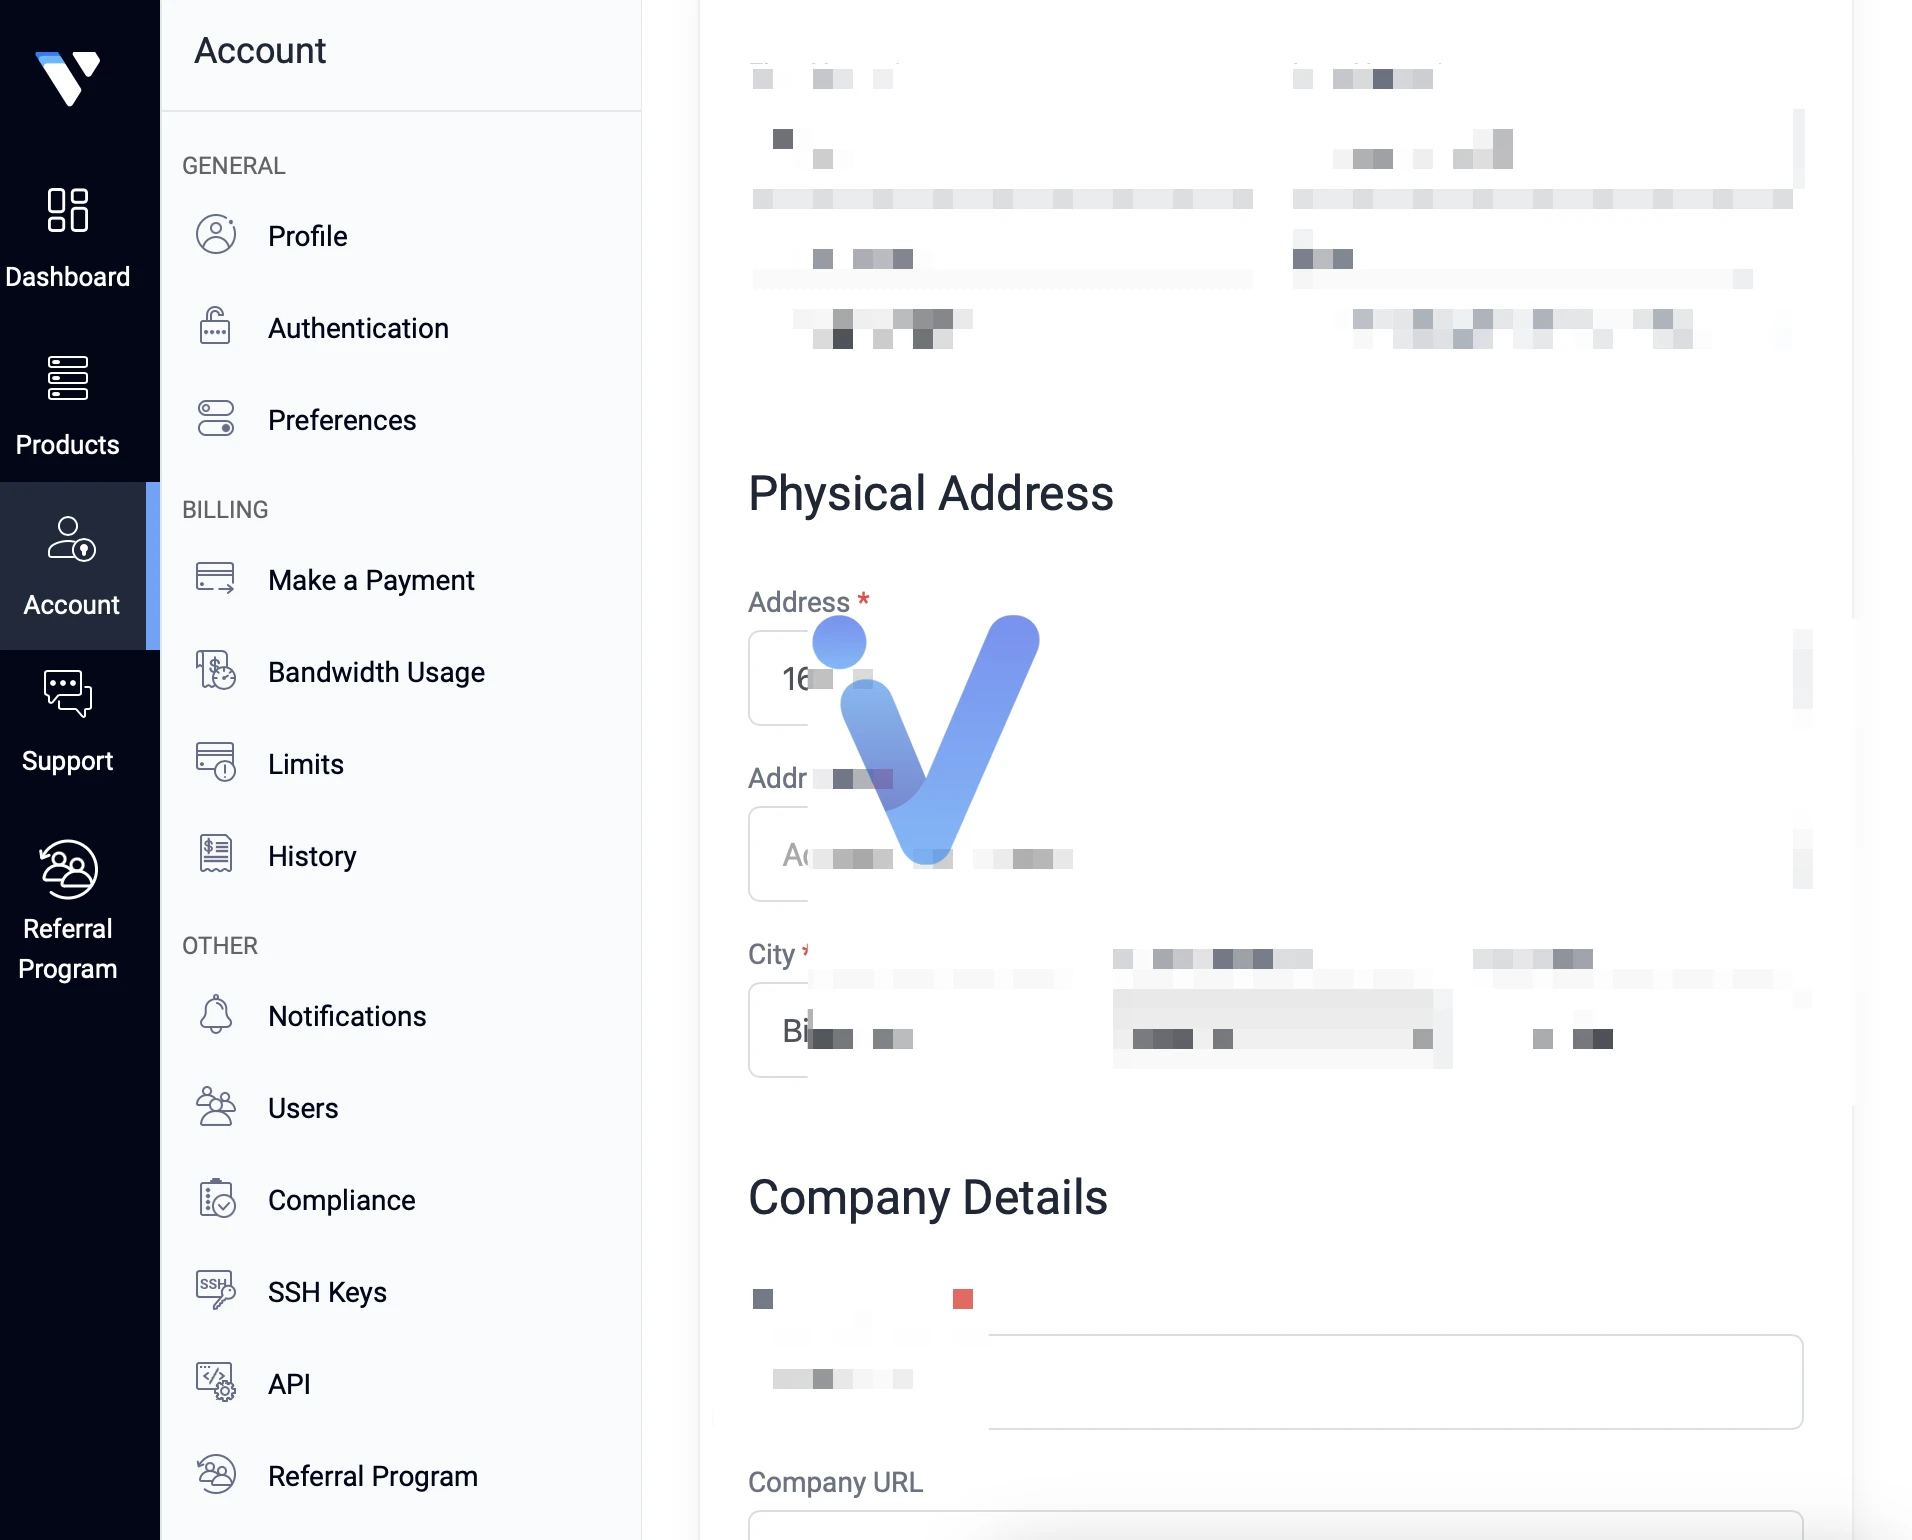
Click on Profile and fill in all your personal information, including name, phone number, address, etc.
Must use Two-Factor Authentication
Vultr has implemented two-factor authentication (2FA) to enhance the security of your account. Two-factor authentication (2FA) is offered through Google Authenticator and other compatible authenticator applications.
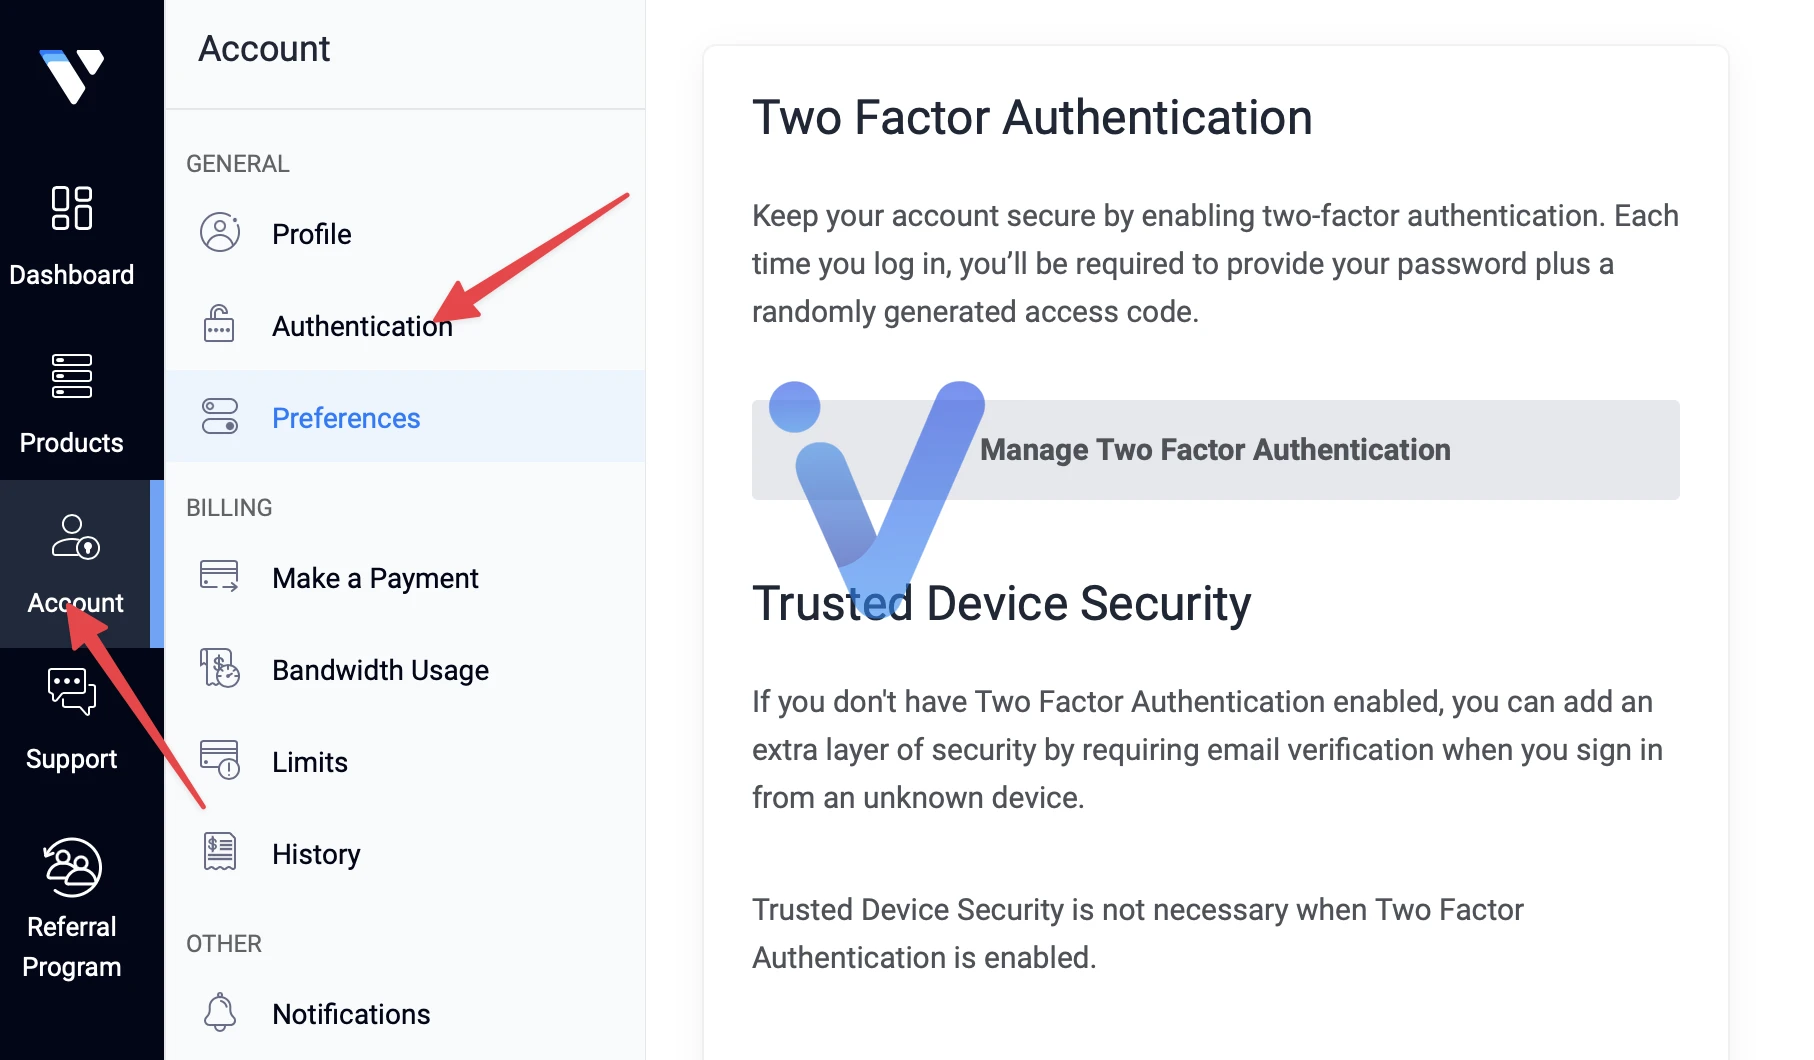
On the Vultr Dashboard, click on “Account” and select the “Authentication” option. Then, follow the instructions in this guide.
Create a New Server
After you have set up a payment method, you’re ready to start your first server. To do this, navigate to the Vultr Dashboard, select the “Deploy +” button at the top-right of the screen, and click “Deploy a New Server”.
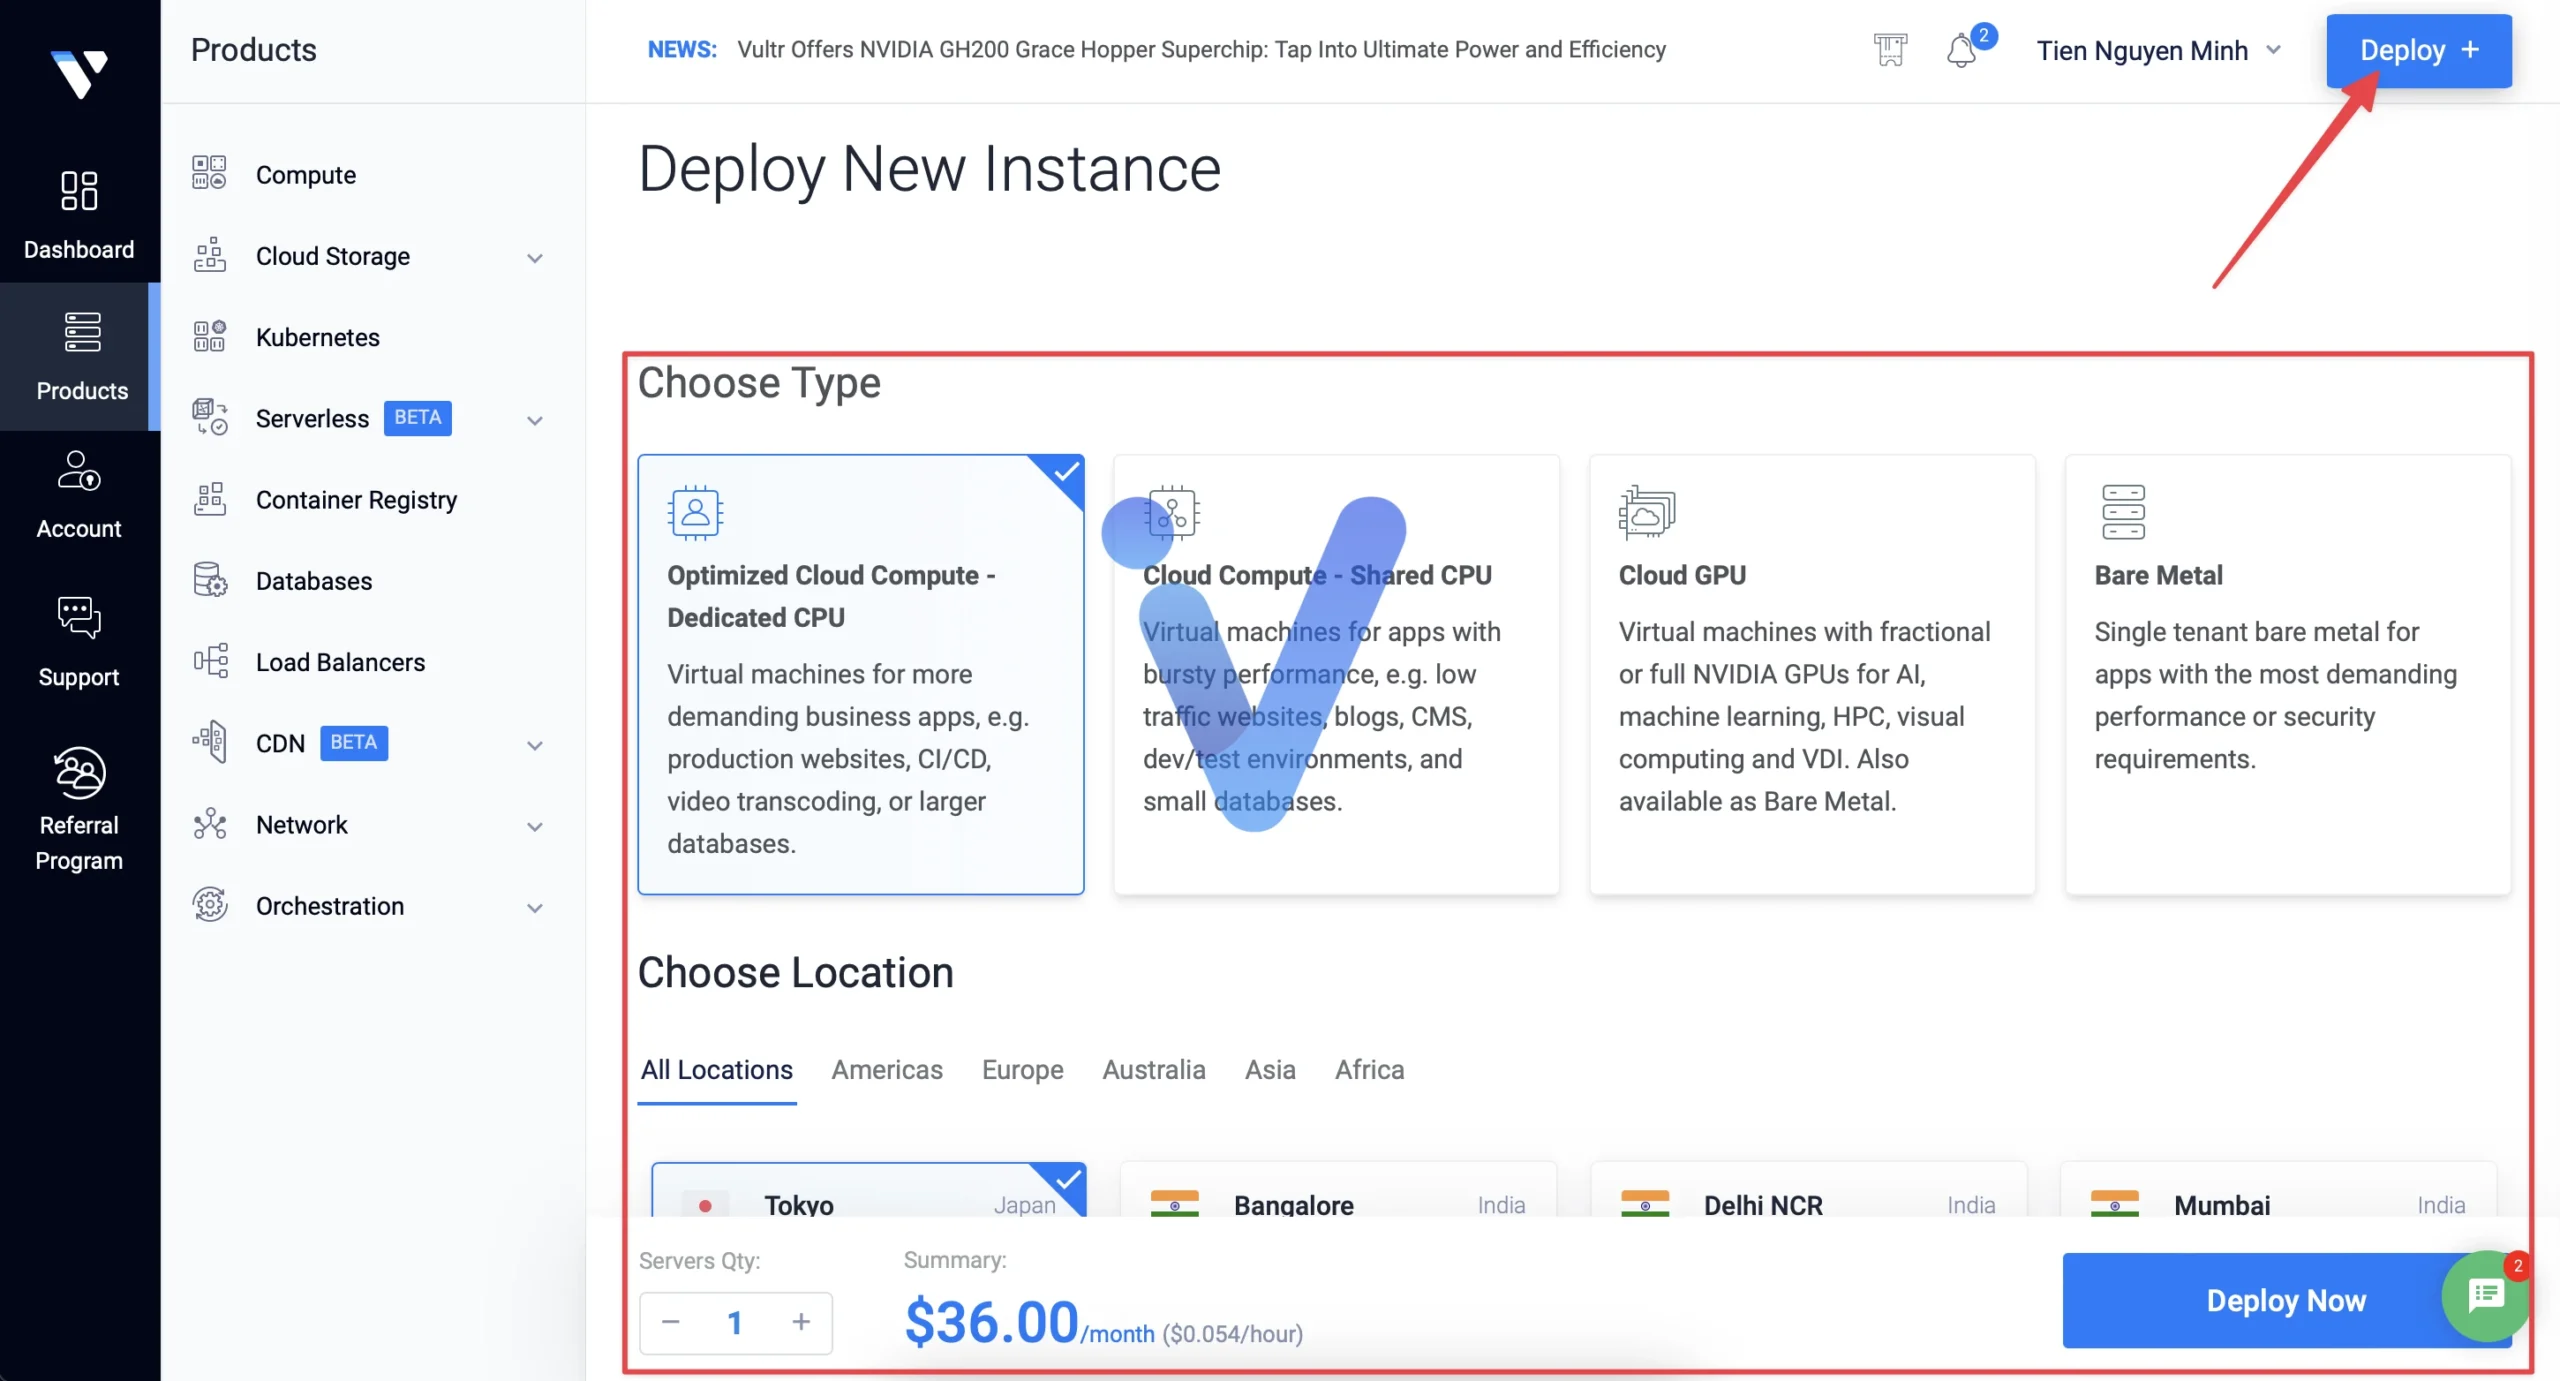
On the following page, you’ll need to choose the type of server, OS, location and plan. You also have the option to include extra features like a firewall or load balancer.
Once you have made your server selections, press the “Deploy Now” button. Vultr will begin the process of provisioning your server, which may take a few minutes.
When your server has been created, you can access it using the SSH or RDP credentials available in the Vultr control panel.


