Linux is a free and open-source operating system that runs most of the world’s web servers and many personal computers. It’s based on the Linux Kernel and comes in various versions, called distributions, like AlmaLinux, Ubuntu, CentOS, Fedora, Debian, and more, each suited for different needs, whether for desktops or servers.
Despite the differences between these distributions, they all share common commands you can use. This guide will help you understand and use these 17 essential Linux commands to manage your VPS server effectively.

I’ve used a VPS to run WordPress sites for over five years. The commands below will provide valuable information, especially if you’re new to VPS and transitioning from shared hosting.

Connecting Remotely with ssh
The ssh (secure shell) command establishes a secure remote login session to your VPS, employing encryption for data transmission.
Note: The Terminal application can log in to a VPS on macOS or Linux through SSH command. However, you need to use third-party software like PuTTY, ZOC, or Bitvise SSH Client on Windows.
How to Connect to a VPS with SSH (Windows, macOS and Linux)
To connect to your VPS, use:
ssh <user name>@<remote IP address>For example:
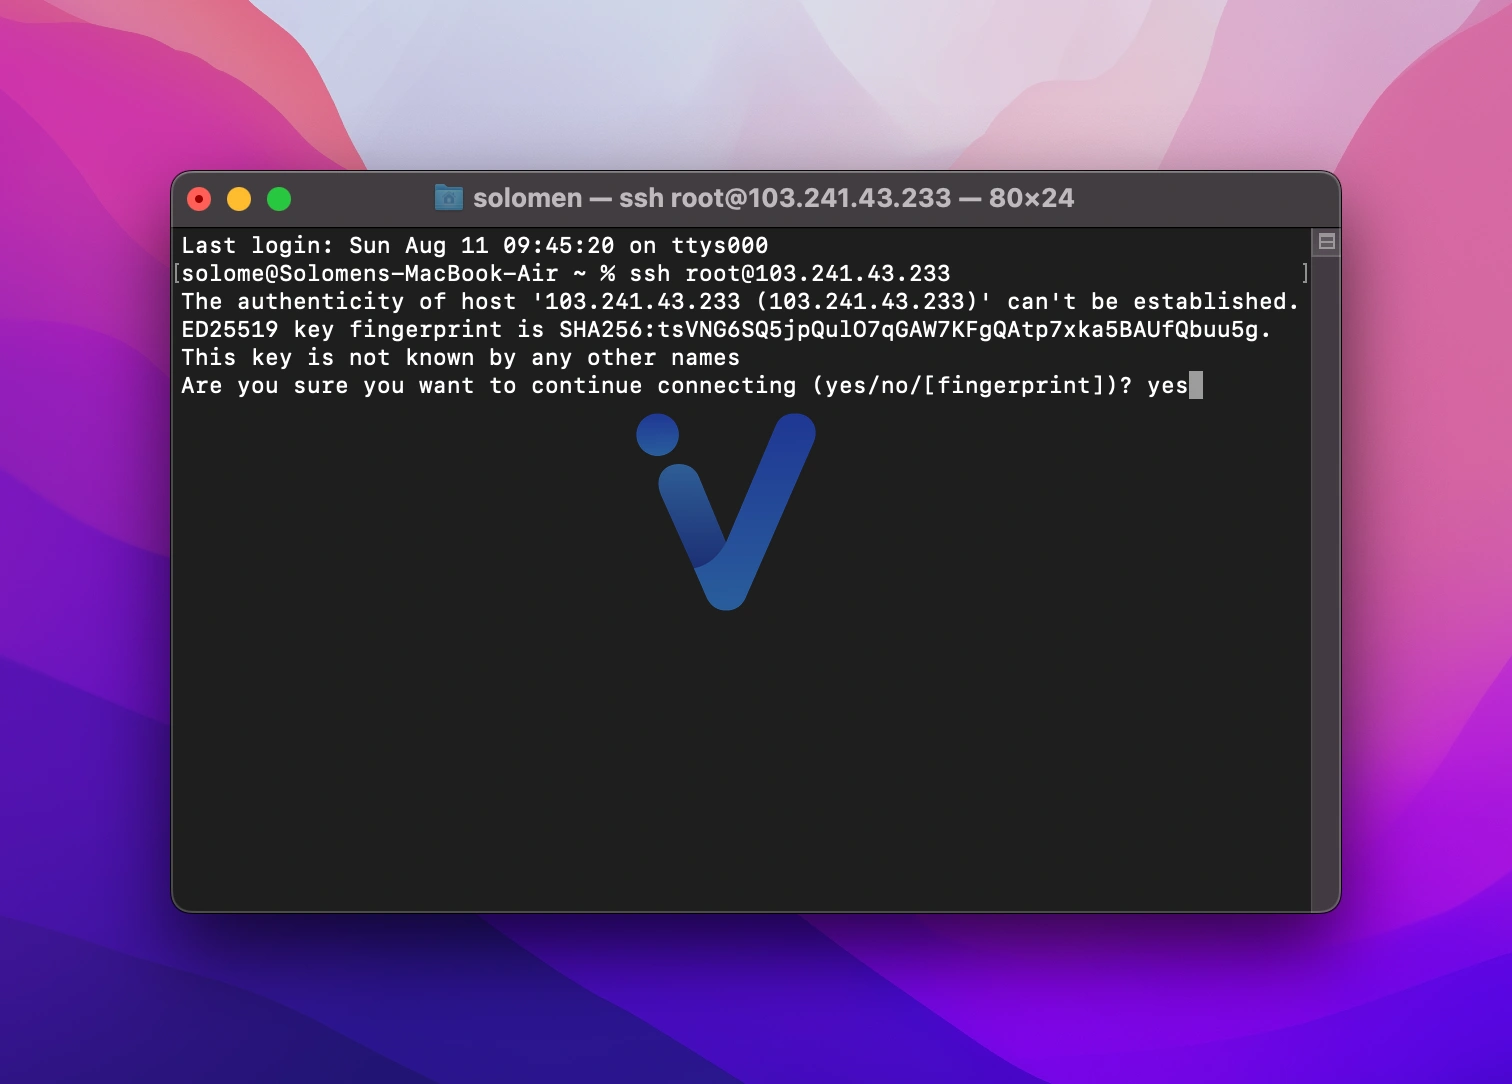
ssh root@192.168.1.10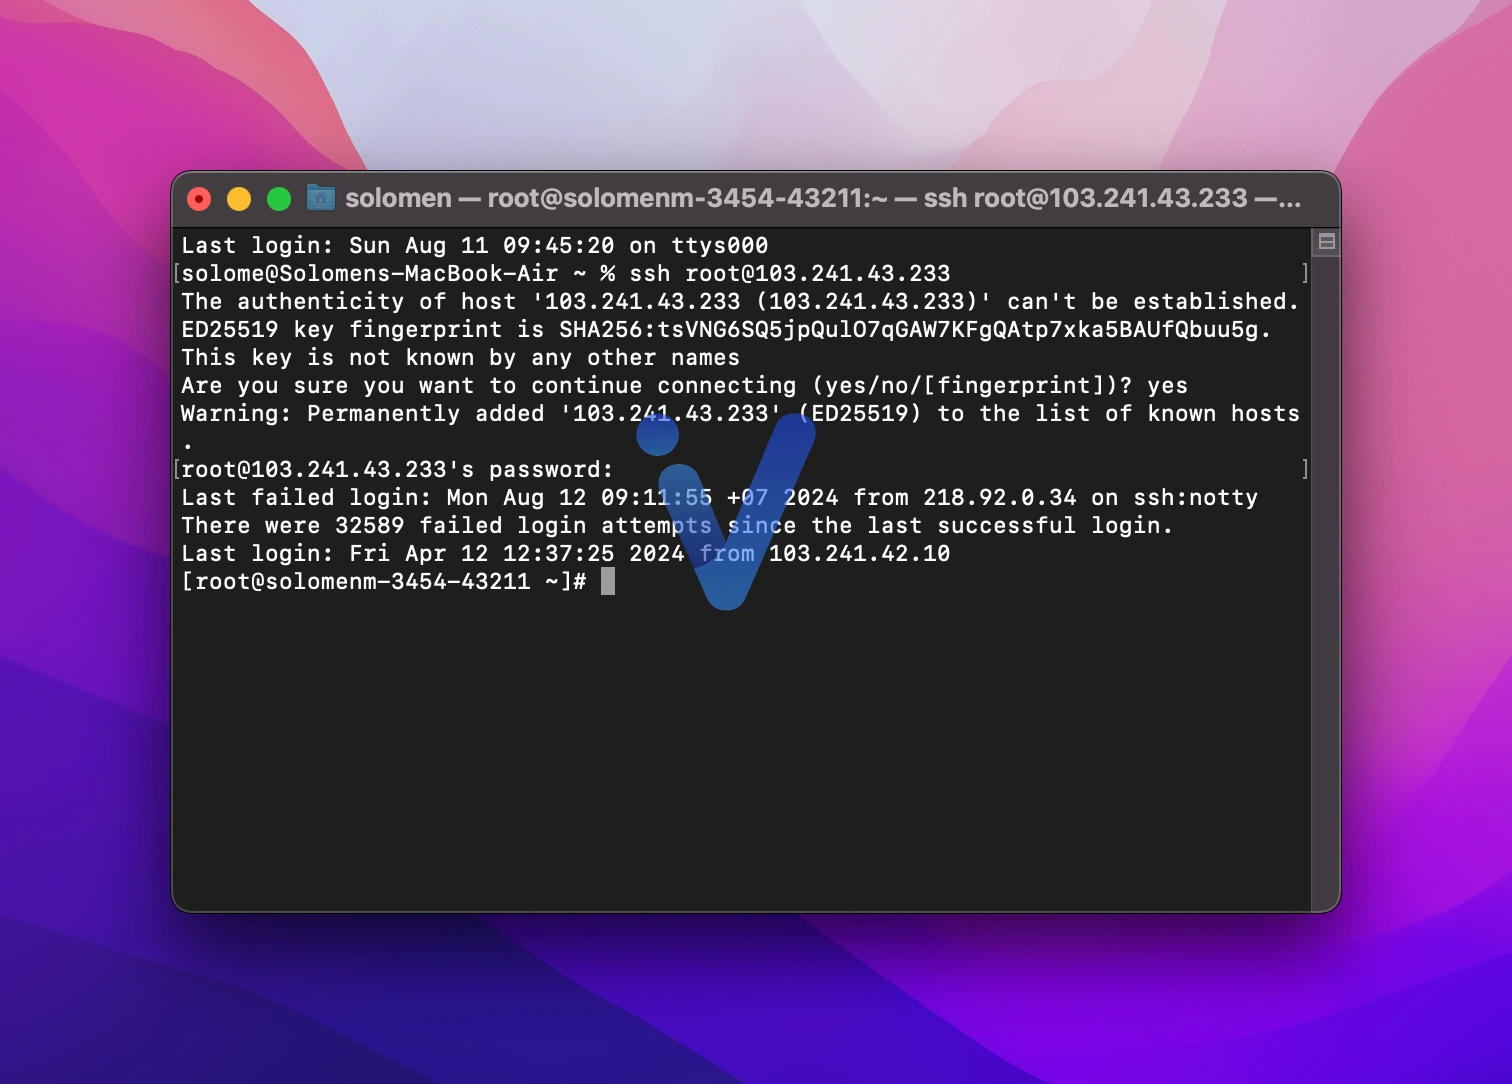
For added security, consider setting up SSH key authentication, eliminating the need for password entry:
ssh-keygenFollow the prompts to generate keys, then transfer the public key to your VPS using:
ssh-copy-id user1@192.168.1.10Utilize the -p option to specify a different port if SSH is not running on the default port 22:
ssh -p 2222 root@192.168.1.10To end an active SSH session, simply type:
exitFixing the RSA Error
When you log in to a VPS from macOS or Linux through the Terminal, your computer will save the VPS information. However, in some cases, if you want to reinstall the VPS operating system, an error message will occur when you try to log in to the VPS via SSH.
Use the following command and press Enter to fix this error:
ssh-keygen -R IP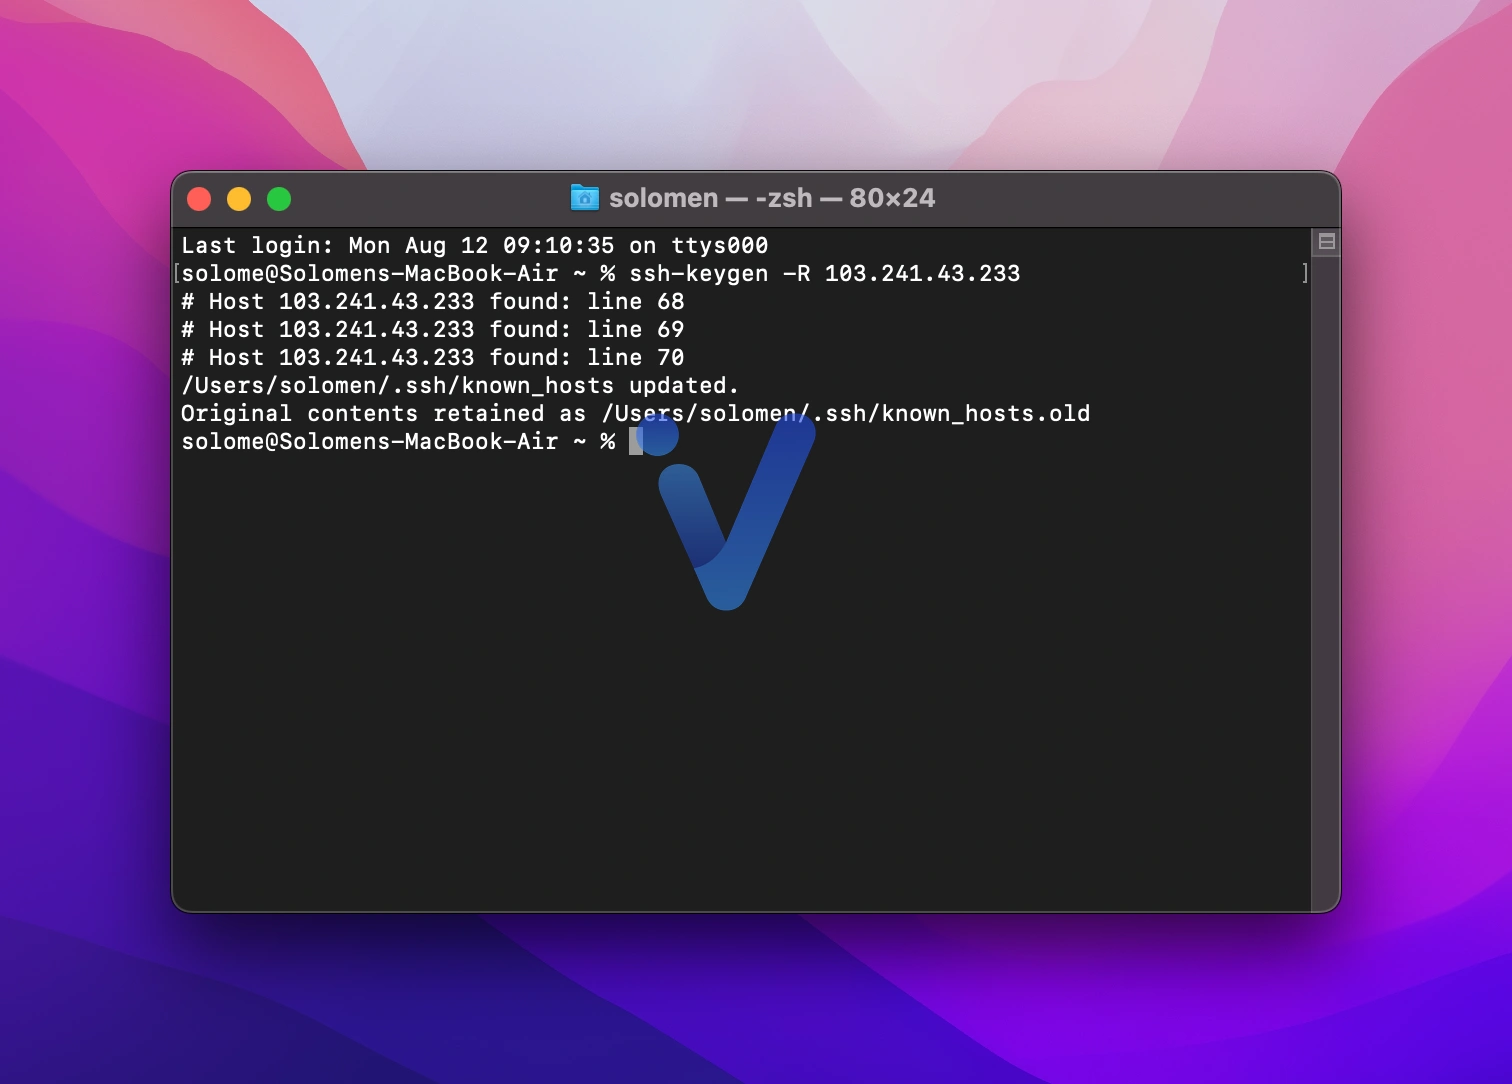
Replace IP with the IP address of the VPS you are using. For example:
ssh-keygen -R 149.28.128.125Compressing a Folder or File
I often use this method to back up the entire website code on the VPS. To compress a folder, you can use the following command:
zip -r foldername.zip folderFor example, I must compress all the files in the website’s public_html folder. After logging into the VPS through Terminal or Bitvise, I need to navigate to the location containing the public_html folder:
cd /home/vultrouponcom/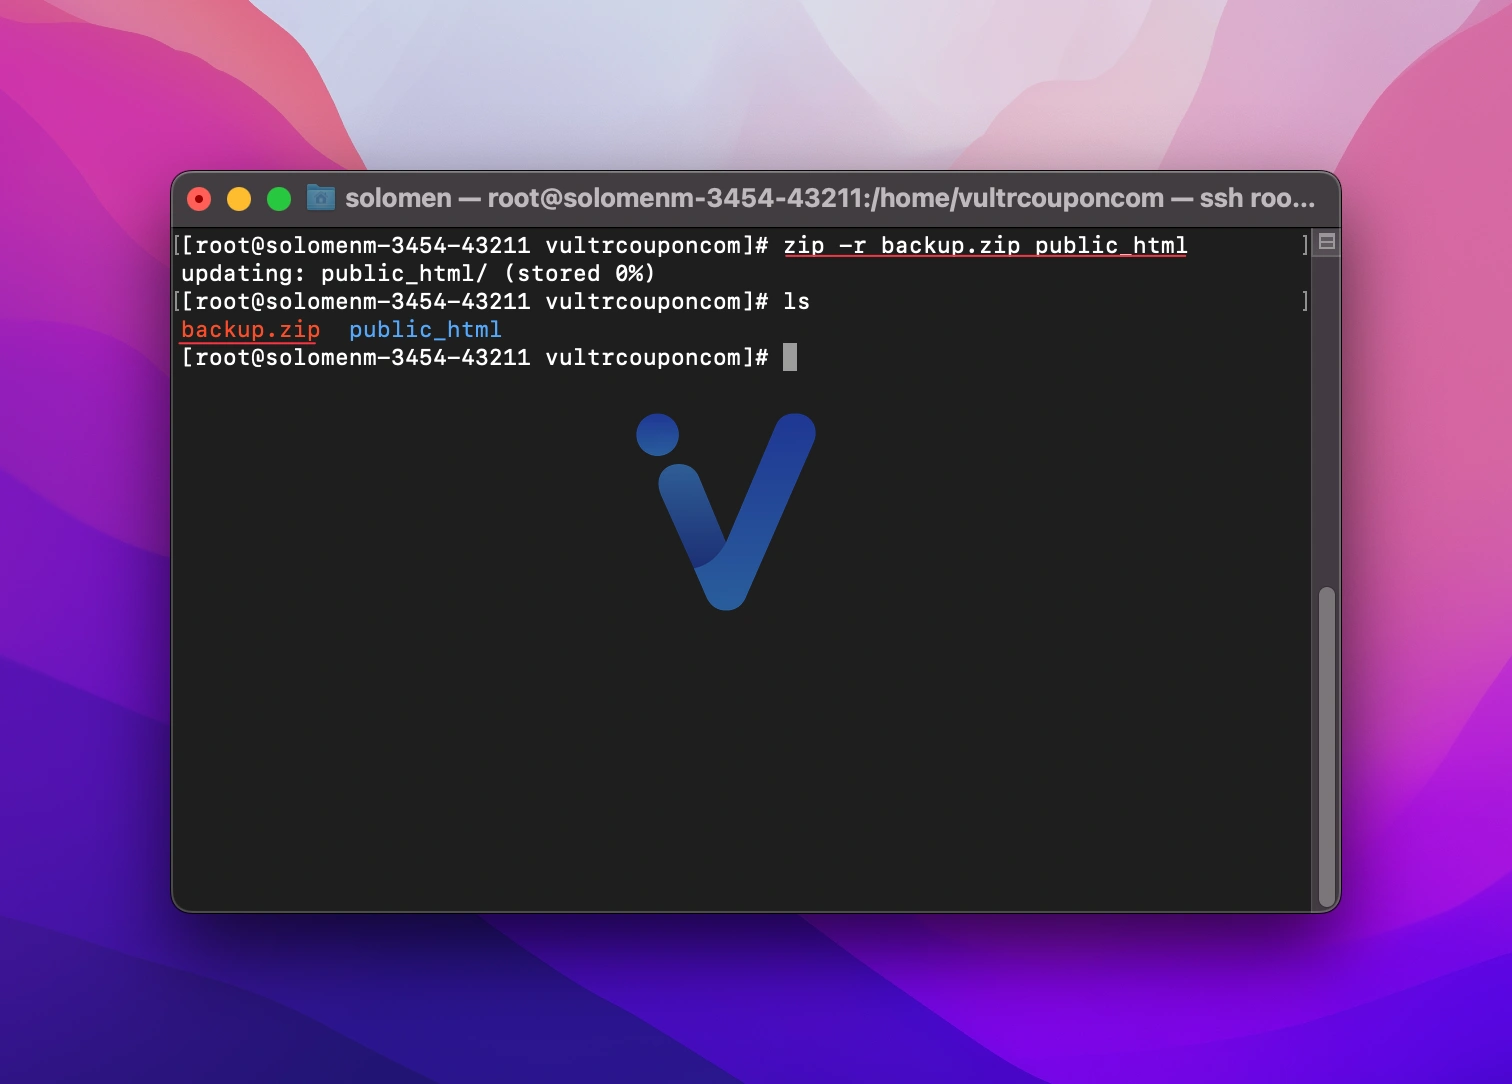
Then, execute the above command to compress all the data in the public_html folder into backup.zip.
zip -r backup.zip public_htmlAfter pressing Enter, all files and folders in this directory will be compressed into a single file named backup.zip.
If you get this error (-bash: zip: command not found), install zip and unzip for your Linux.
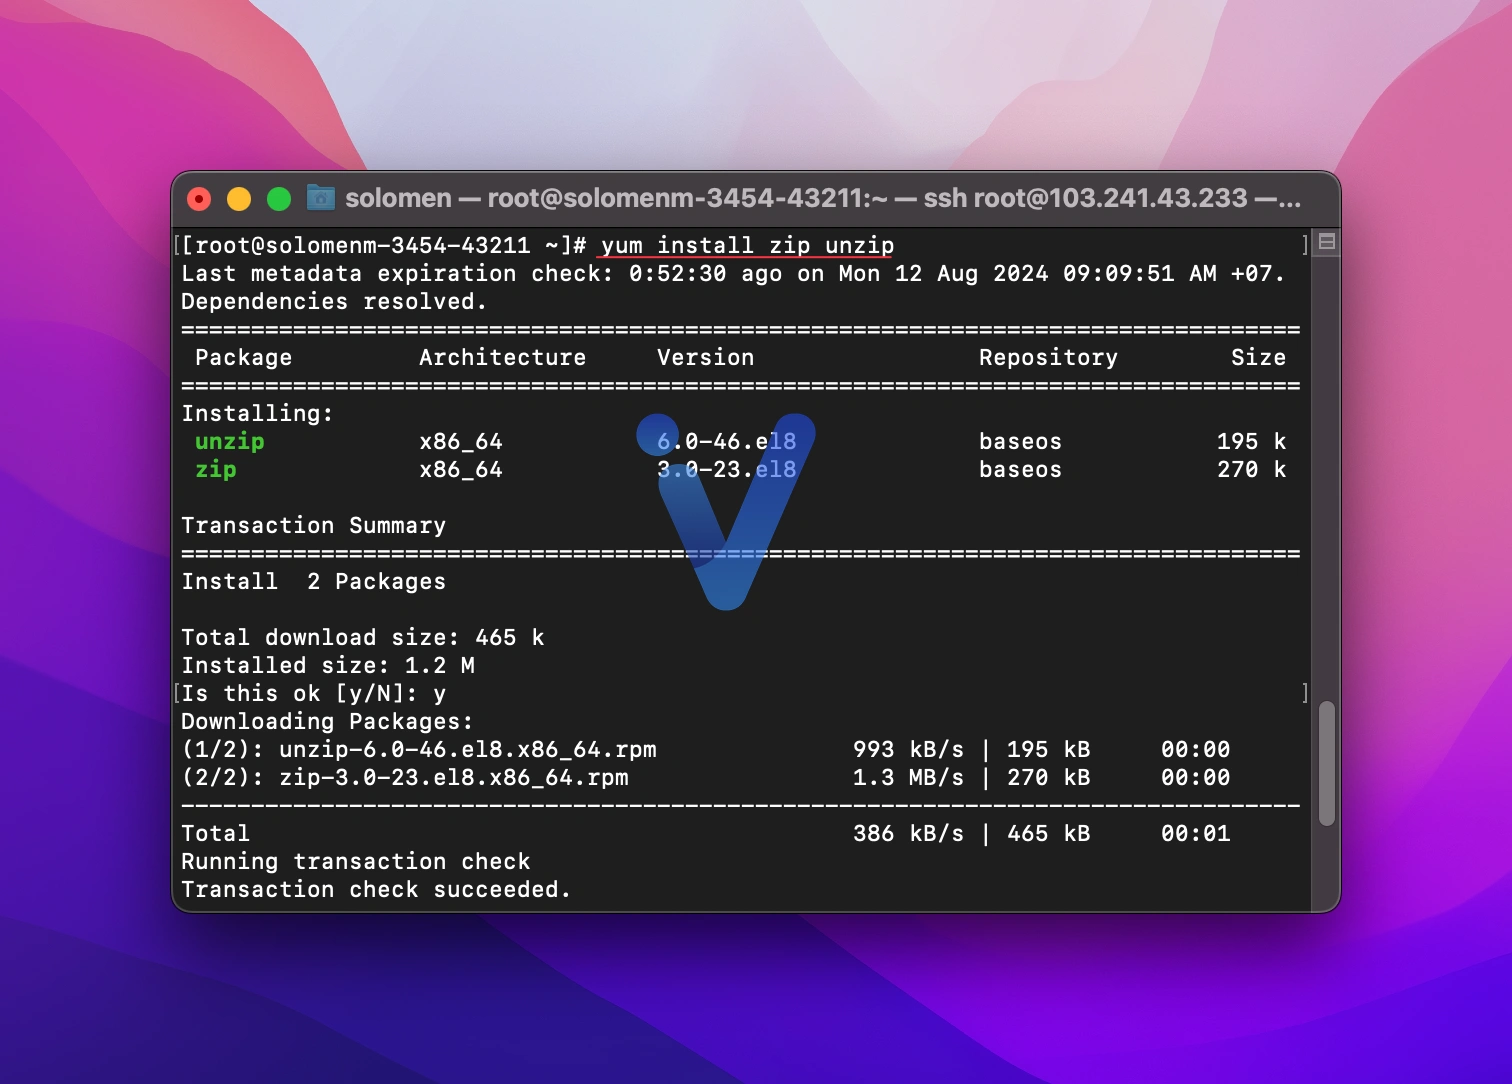
Ubuntu:
sudo apt install zip unzipAlmaLinux:
yum install zip unzipExtracting a ZIP File
This command is often used when moving your website’s data from Hosting or VPS to a new VPS. To unzip a .zip file, use the following command:
unzip [filename.zip]For example:
unzip backup.zip Downloading Files with wget
The wget command downloads files from the web via HTTP, HTTPS, and FTP protocols. It supports resuming interrupted downloads and is compatible with various options.
To download a file, use:
wget <URL of file>For example:
wget https://www.marswp.com/backup.zip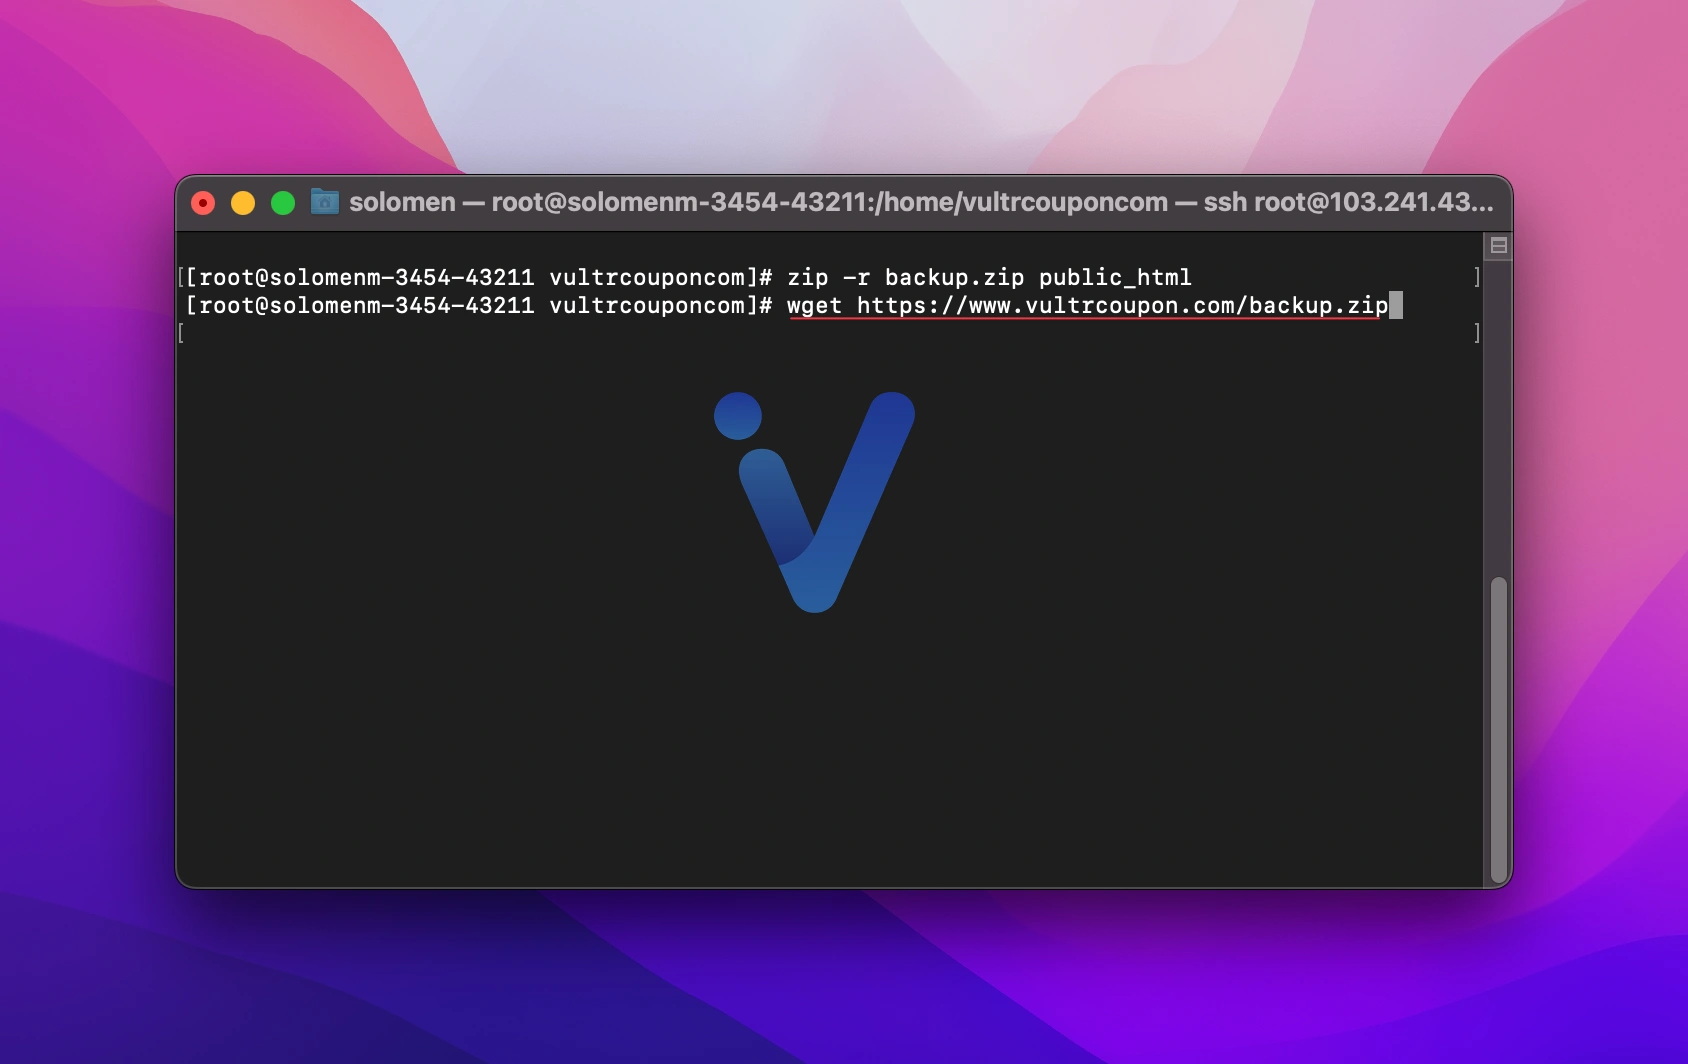
If a download gets interrupted, you can resume it using the -c option:
wget -c https://www.marswp.com/file.zipNavigating Directories with cd
The cd (change directory) command allows users to transition between different folders within the filesystem seamlessly. Much like navigating between rooms in a house, it enables exploration of various directories where files are stored.
To utilize the cd command, follow this syntax:
cd <directory name>If the directory name contains spaces, enclose it in quotes, like so:
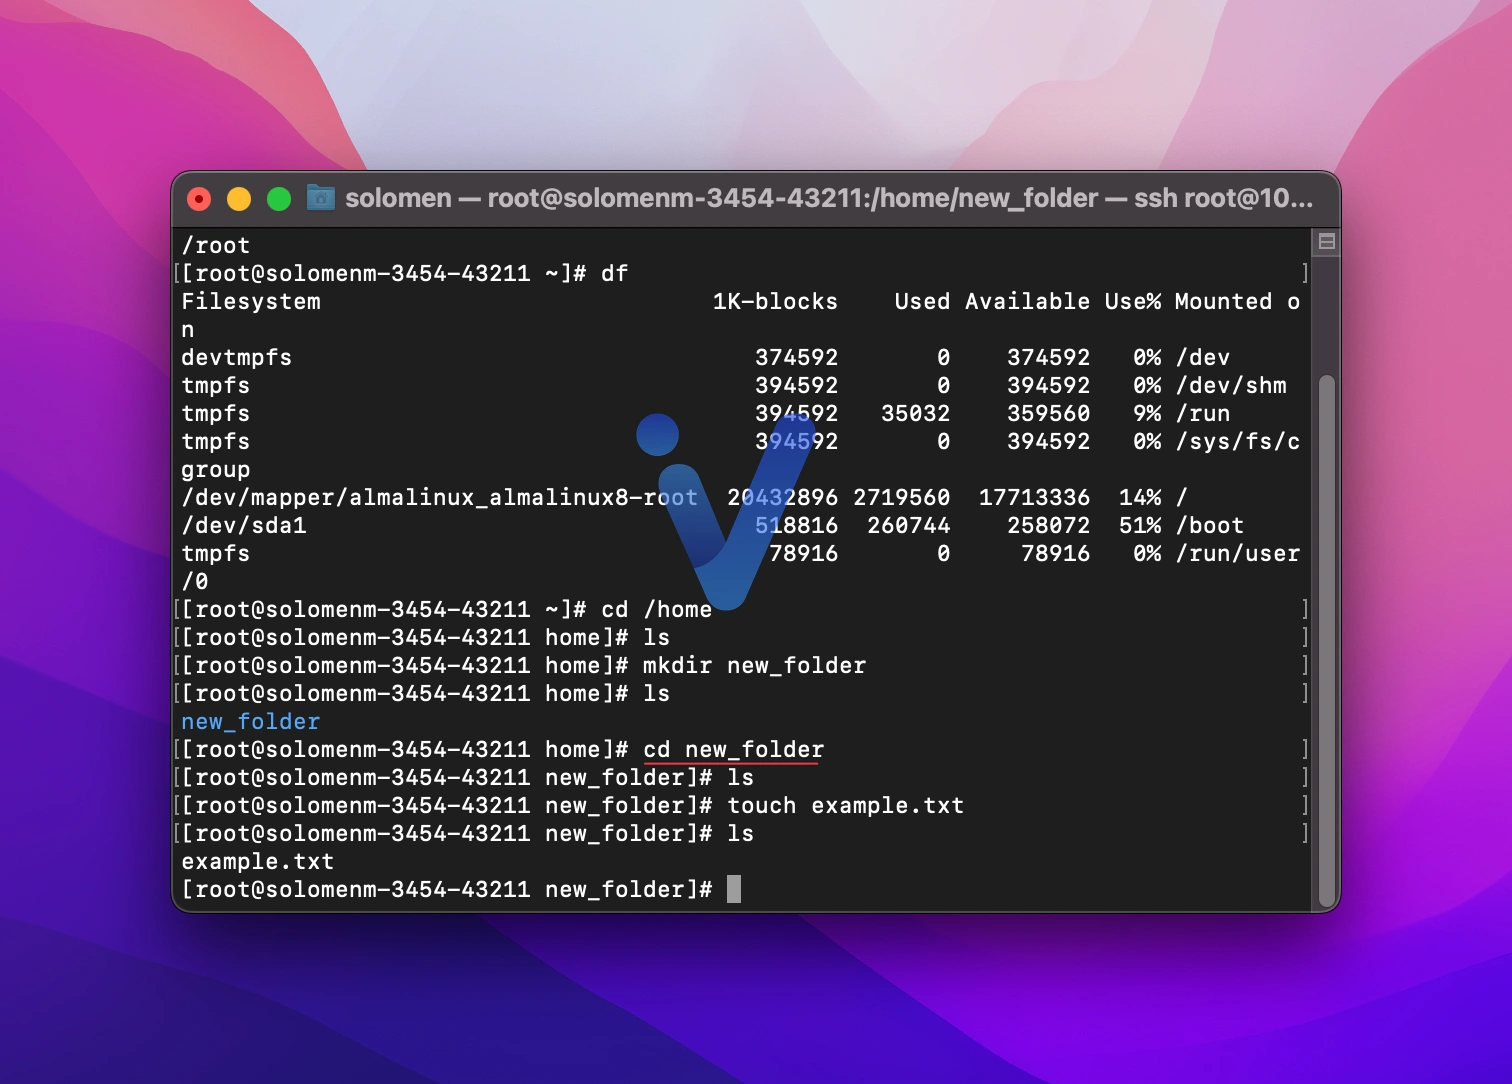
cd "My Folder"When you want to change to the home directory, simply type:
cd ~Alternatively, if you wish to access a subdirectory called projects, you would type:
cd projectsTo quickly return to the previous directory you accessed, use:
cd -More: For instance, moving to a nested directory can be achieved using:
cd /home/user/projectsBut if you’re already within the /home/user directory, you could type:
cd projectsLocating Yourself with pwd
The pwd (print working directory) command outputs the full path of your current directory. To use the pwd command, enter:
pwd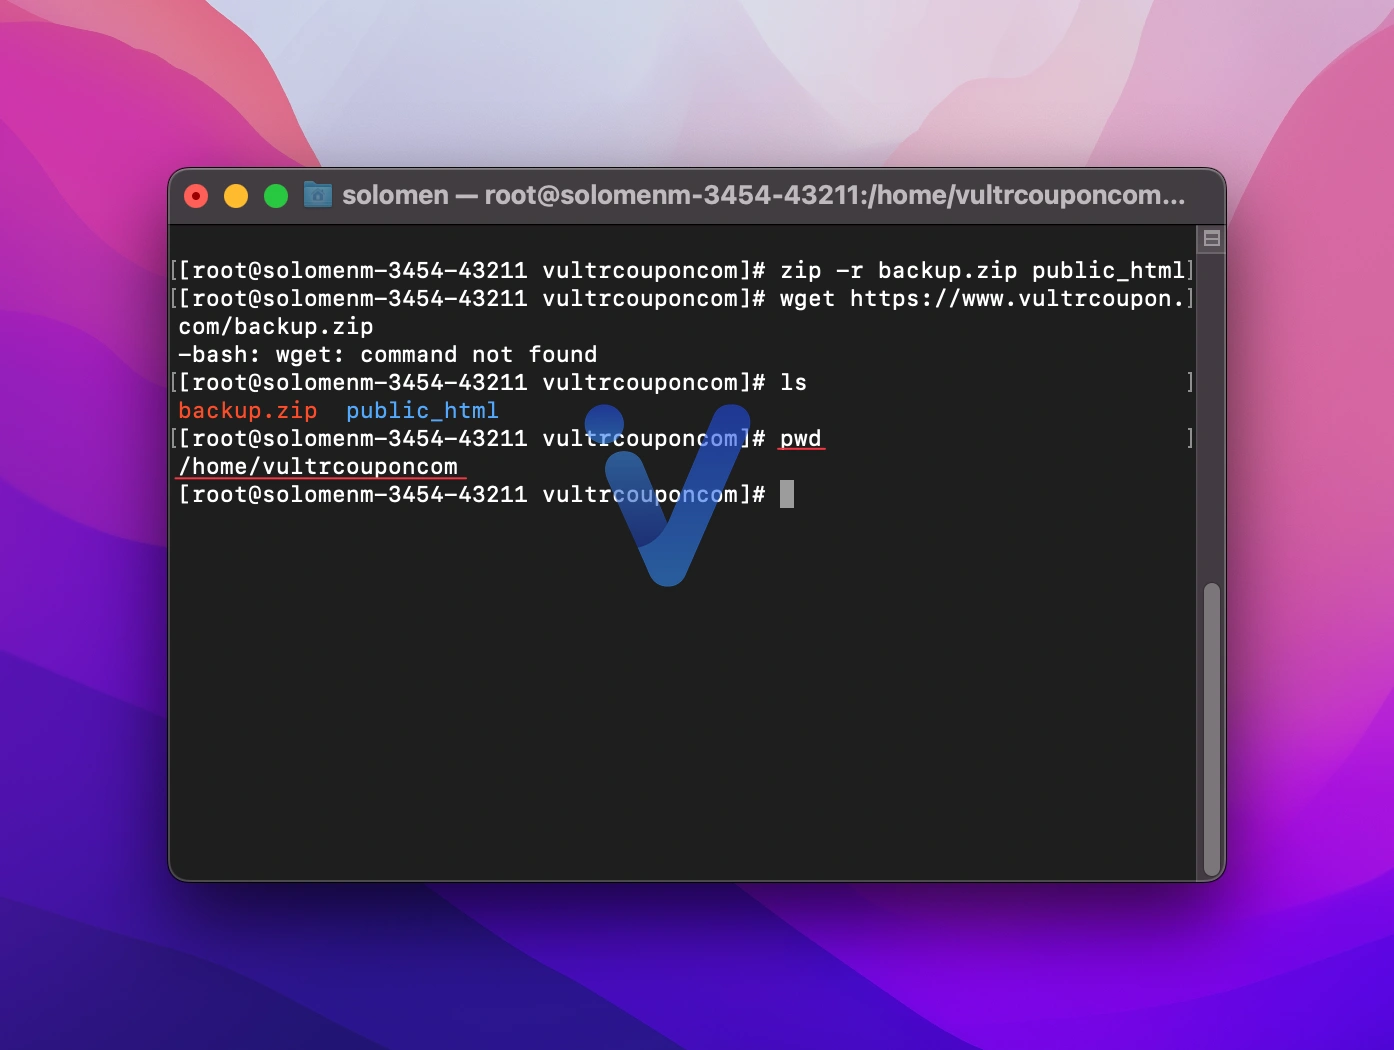
Suppose you entered the command while positioned within the /home/user/projects directory. The output would be:
/home/user/projectsListing Contents with ls
The ls (list) command is your primary tool for displaying files and directories in your current location. You can customize the output by leveraging various options to suit your needs.
To list files, simply type:
ls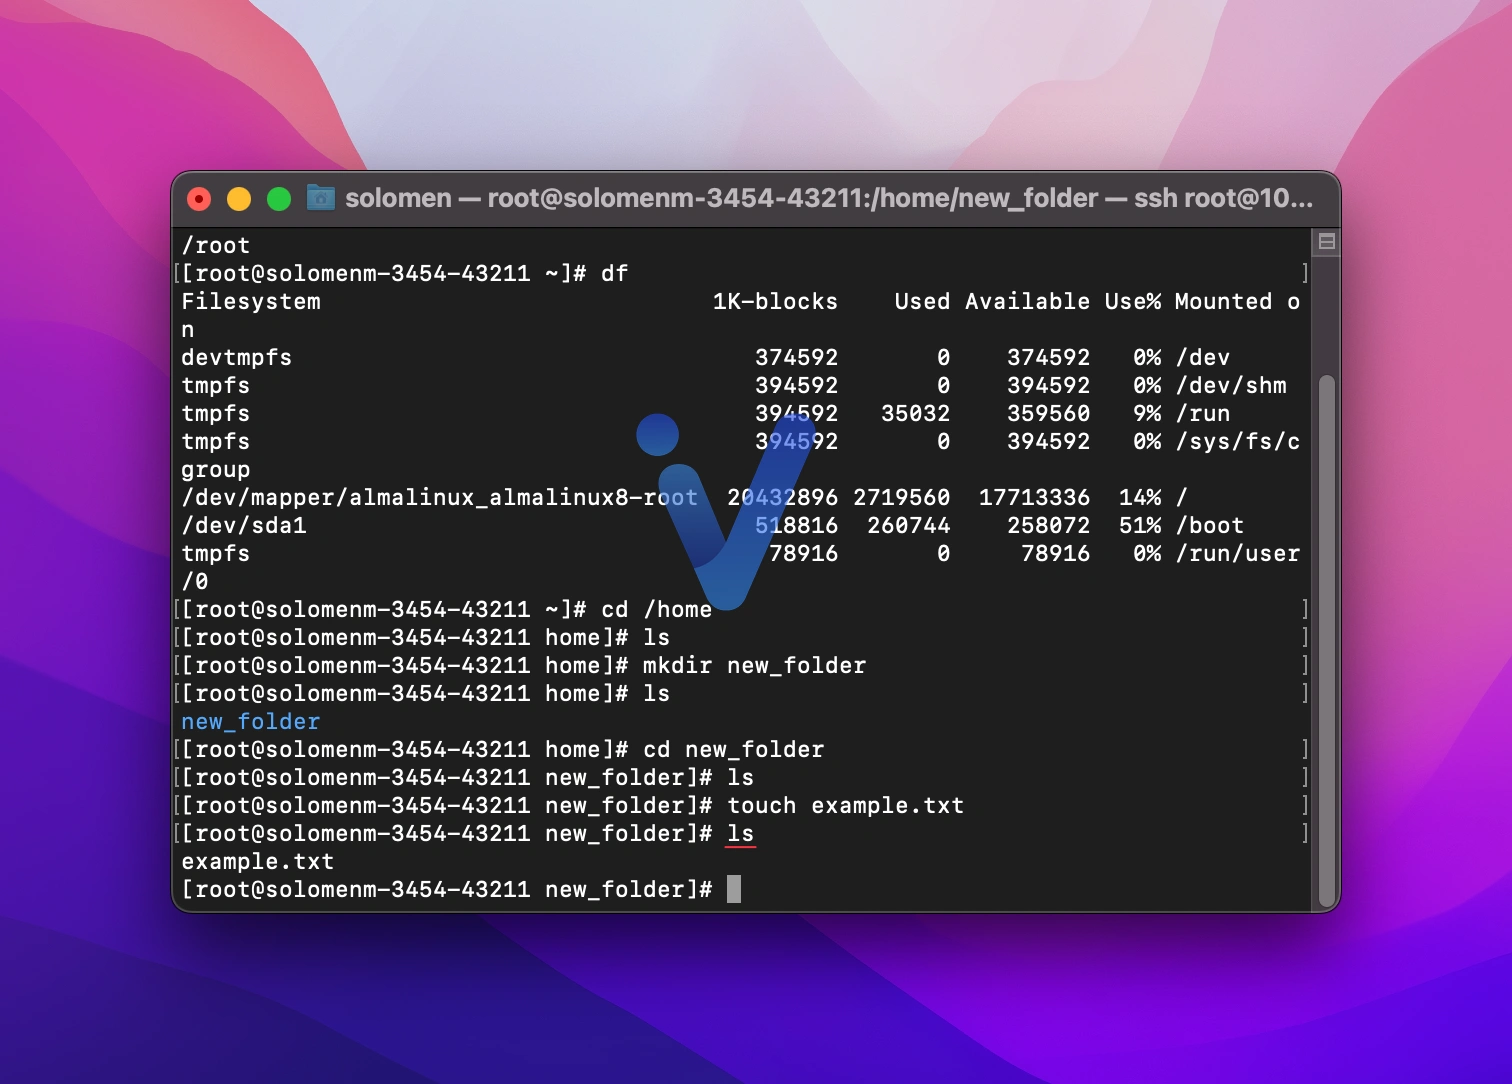
Several valuable options enhance your experience:
- ls -l: Long format listing that presents detailed information such as permissions, owner, size, and modification date.
- ls -a: Displays all files, including hidden ones (those starting with a dot).
- ls -h: Provides human-readable sizes (e.g., KB, MB).
Crafting Directories with mkdir
The mkdir (make directory) command allows users to create new directories within the filesystem. This command contributes to a well-structured organization of files.
To create a new directory, use:
mkdir <directory name>For example:
mkdir new_folder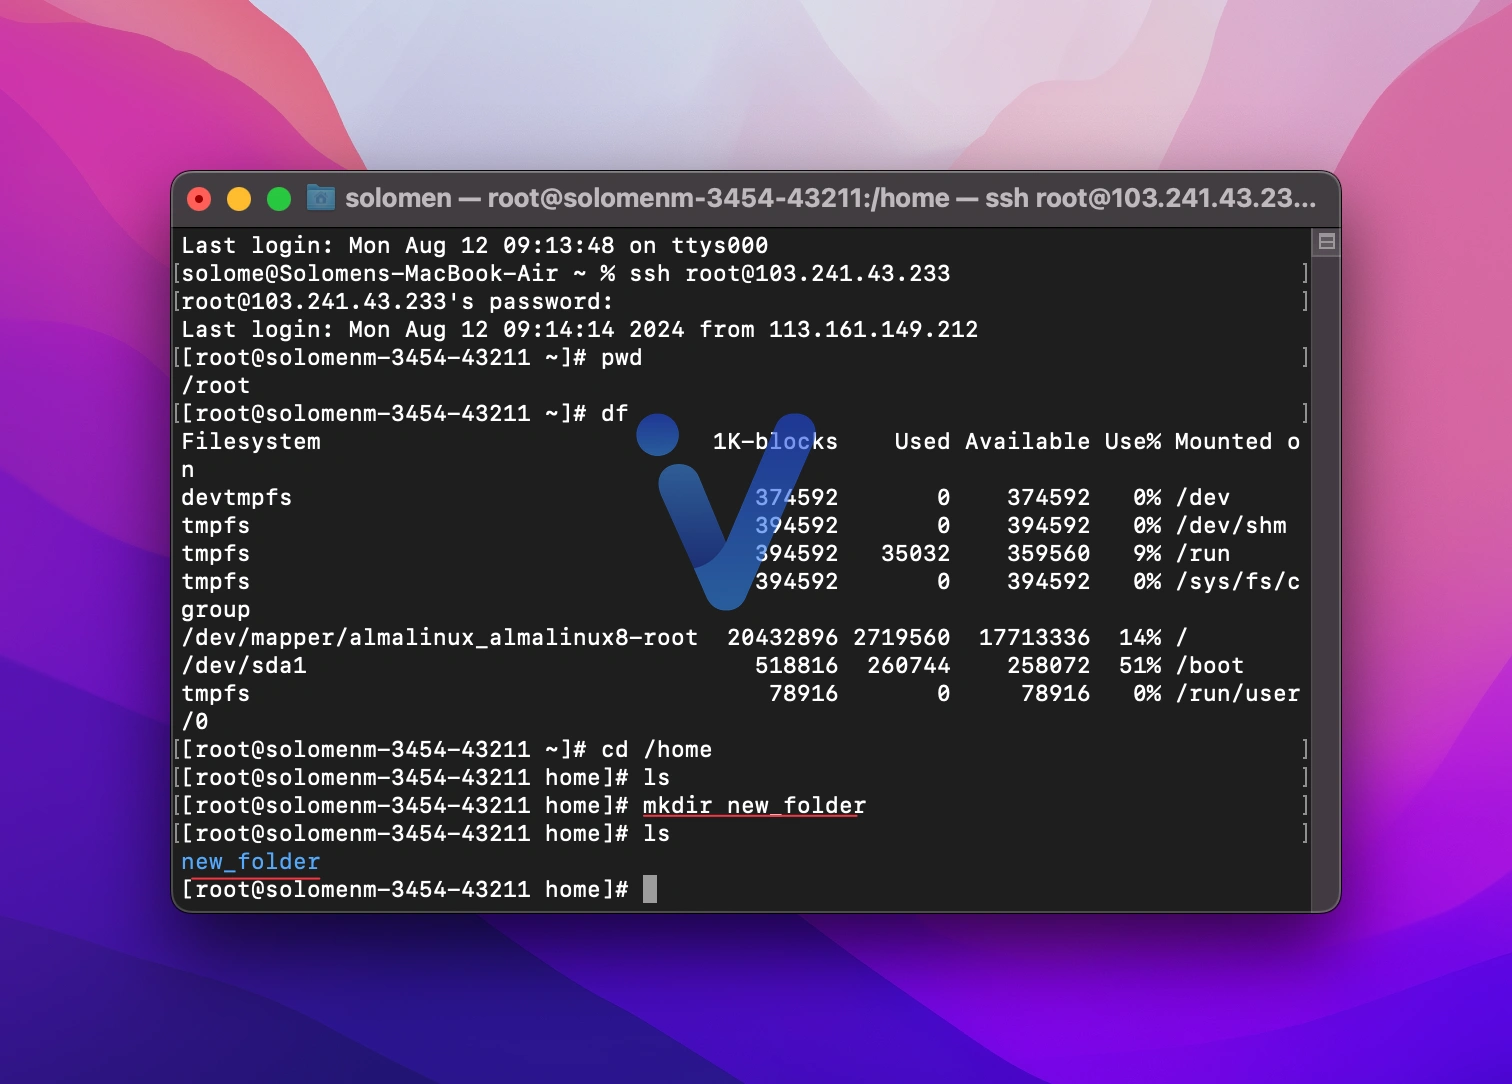
With the power of the -p option, you can create a nested directory structure in one go. For instance:
mkdir -p /home/user/data/backupThis command creates the entire path if it doesn’t already exist.
Creating Files with touch
The touch command allows you to create empty files swiftly, which can serve as placeholders or temporary storage.
The syntax for creating a new file is straightforward:
touch 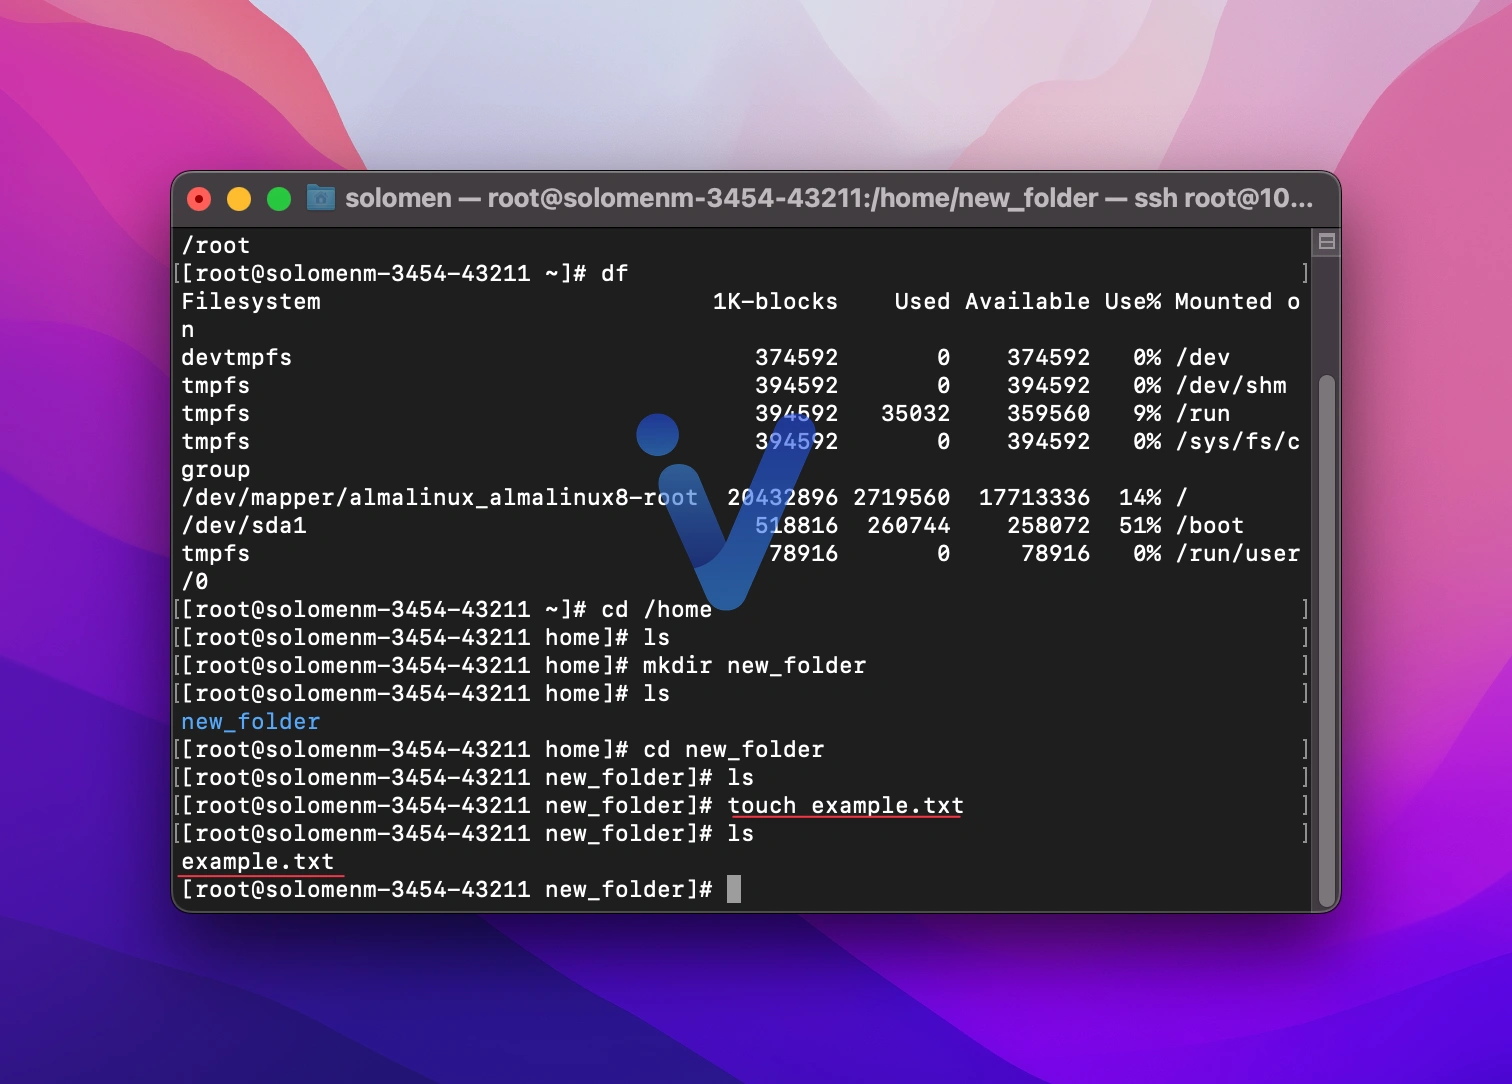
For example, to create a new text file named example.txt, use:
touch example.txtDuplicating Files with cp
The cp (copy) command allows you to create duplicate files or directories. It maintains the integrity of file contents while replicating them in the specified location.
The basic syntax is as follows:
cp <source file> <destination file/directory>For example, to copy backup.zip to create a new file named bknewsite.zip, use:
cp backup.zip bknewsite.zip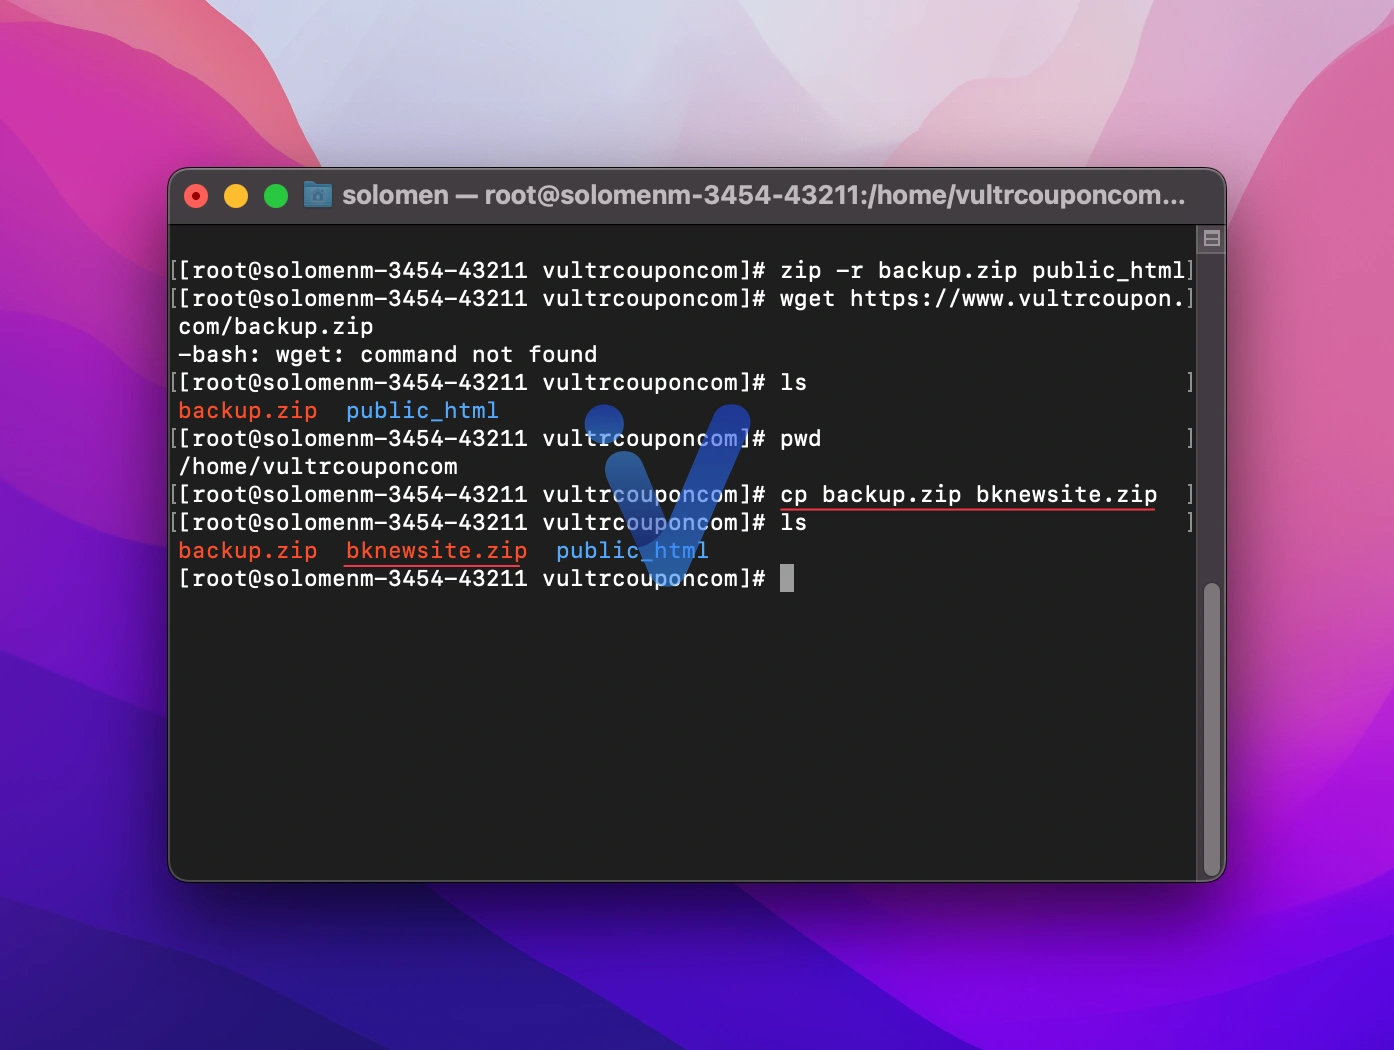
You can also copy multiple files to a target directory:
cp file1.txt file2.txt /home/user/documents/To copy an entire directory and its contents, utilize:
cp -a /path/to/source_directory /path/to/destination_directoryRelocating Files with mv
The mv (move) command not only moves files but also enables users to rename them. It’s a versatile tool for managing file organization.
The syntax for moving files is:
mv <source file/directory> <destination file/directory>For example, to move image.jpg to a different folder:
mv image.jpg /home/user/pictures/Renaming a file is as simple as specifying the new name in the destination:
mv old_name.txt new_name.txt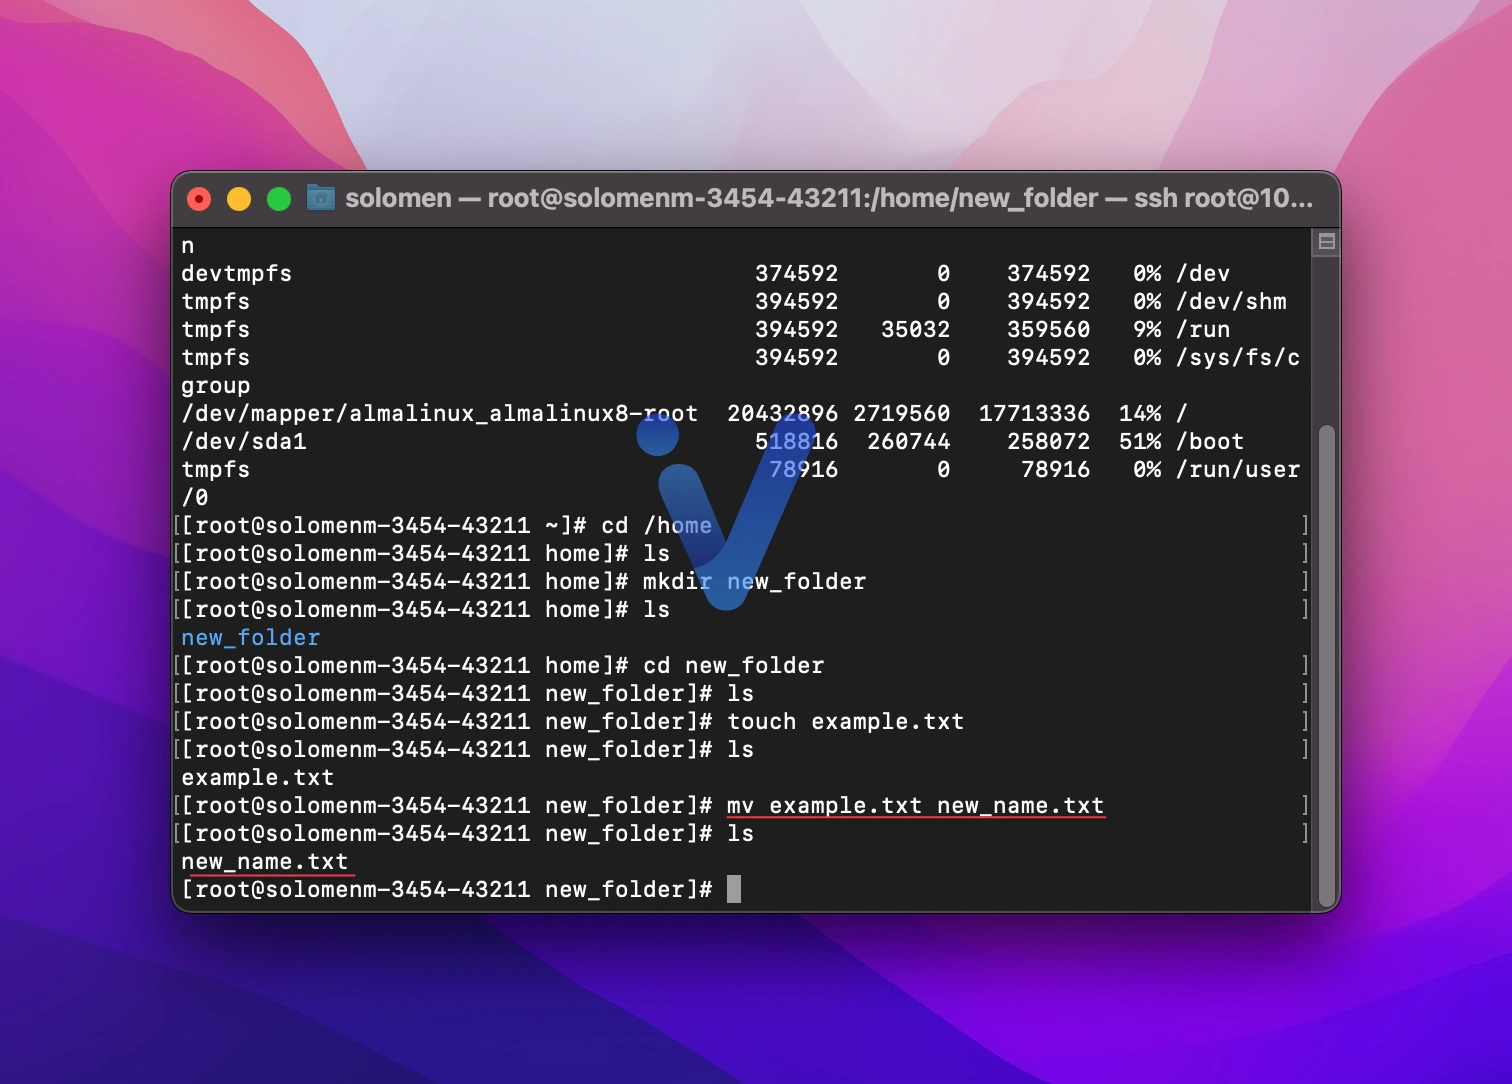
You can also move multiple files to a single directory:
mv file1.txt file2.txt /home/user/documents/This command transfers both files to the designated folder.
If the destination file already exists by default, the mv command will overwrite it without prompting. To prevent accidental overwriting, utilize the -i option:
mv -i old_file.txt /home/user/documents/Deleting Files and Directories with rm
The rm (remove) command permanently deletes files and directories. Unlike moving files to a trash bin, it irreversibly removes them from the filesystem.
To delete a single file, execute:
rm <file name>For example:
rm log.txt
To remove an empty directory, use:
rmdir <directory name>For non-empty directories, the -r (recursive) option is required:
rm -r <directory name>If you are sure about removals and wish to bypass prompts, use the -f (force) option:
rm -rf <directory name>Inspecting Disk Space with df
The df (disk free) command displays available disk space and filesystem usage statistics across all mounted filesystems.
Simply typing:
df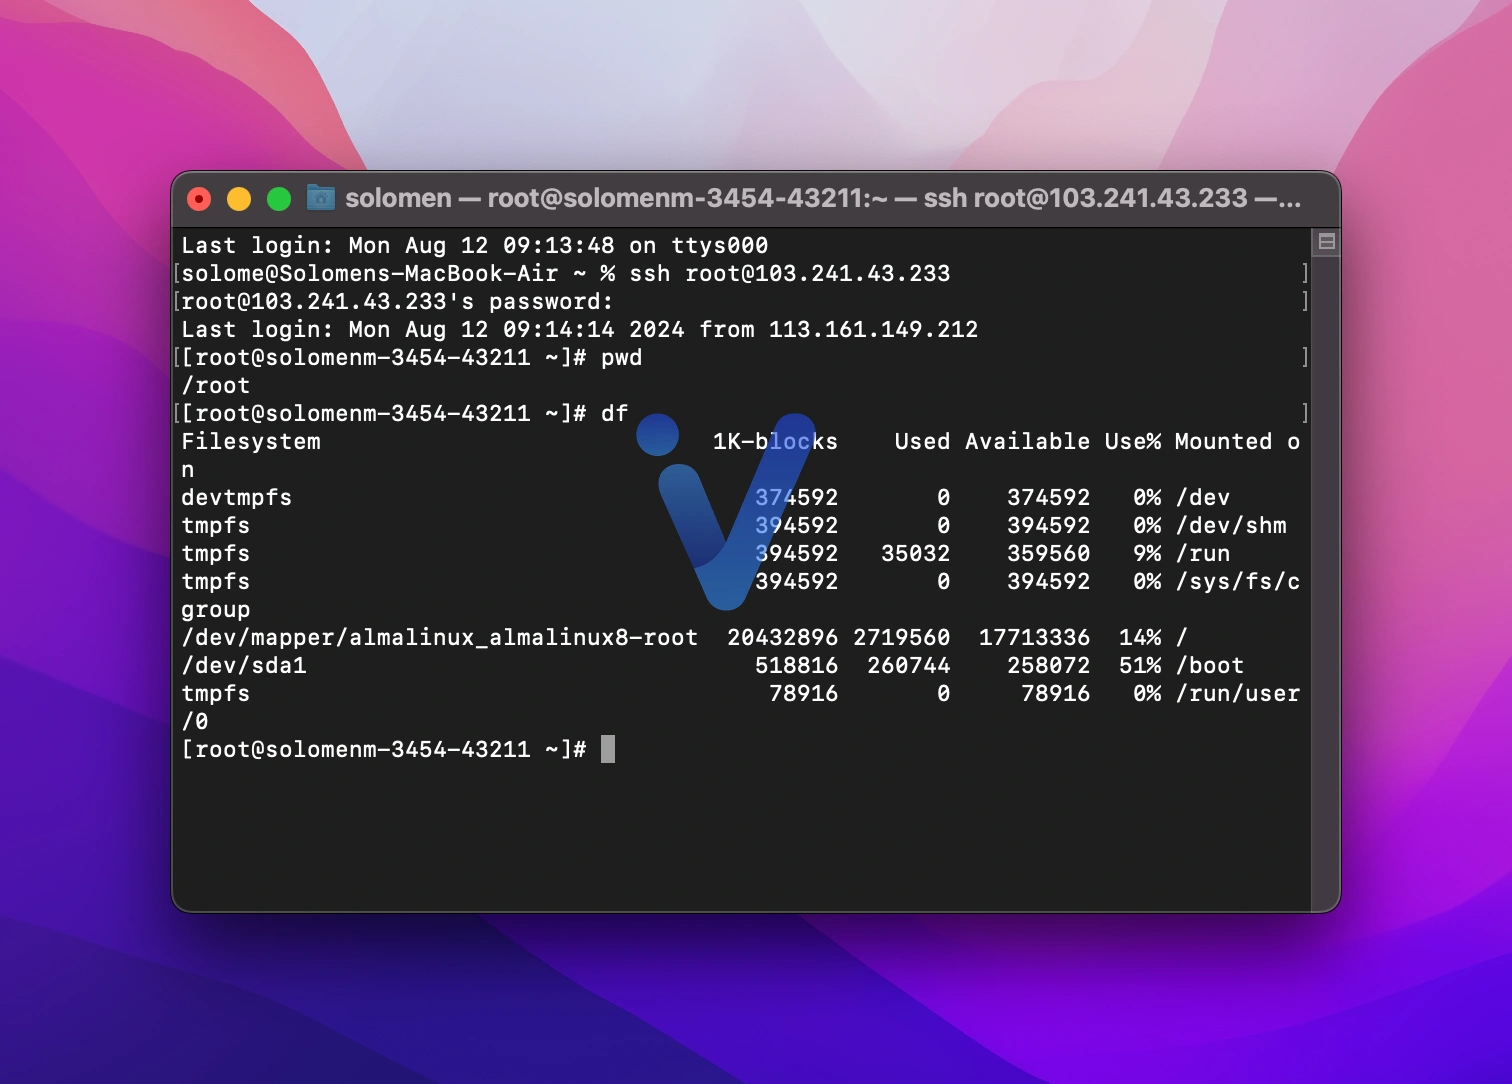
To make the output more digestible, use the -h option:
df -hIf you need information about a particular filesystem, specify its mount point:
df -h /homeModifying Permissions with chmod
The chmod (change mode) command modifies file and directory permissions, categorizing access levels for users, groups, and others.
To view file/folder permissions, type this:
stat [filename] or [folder]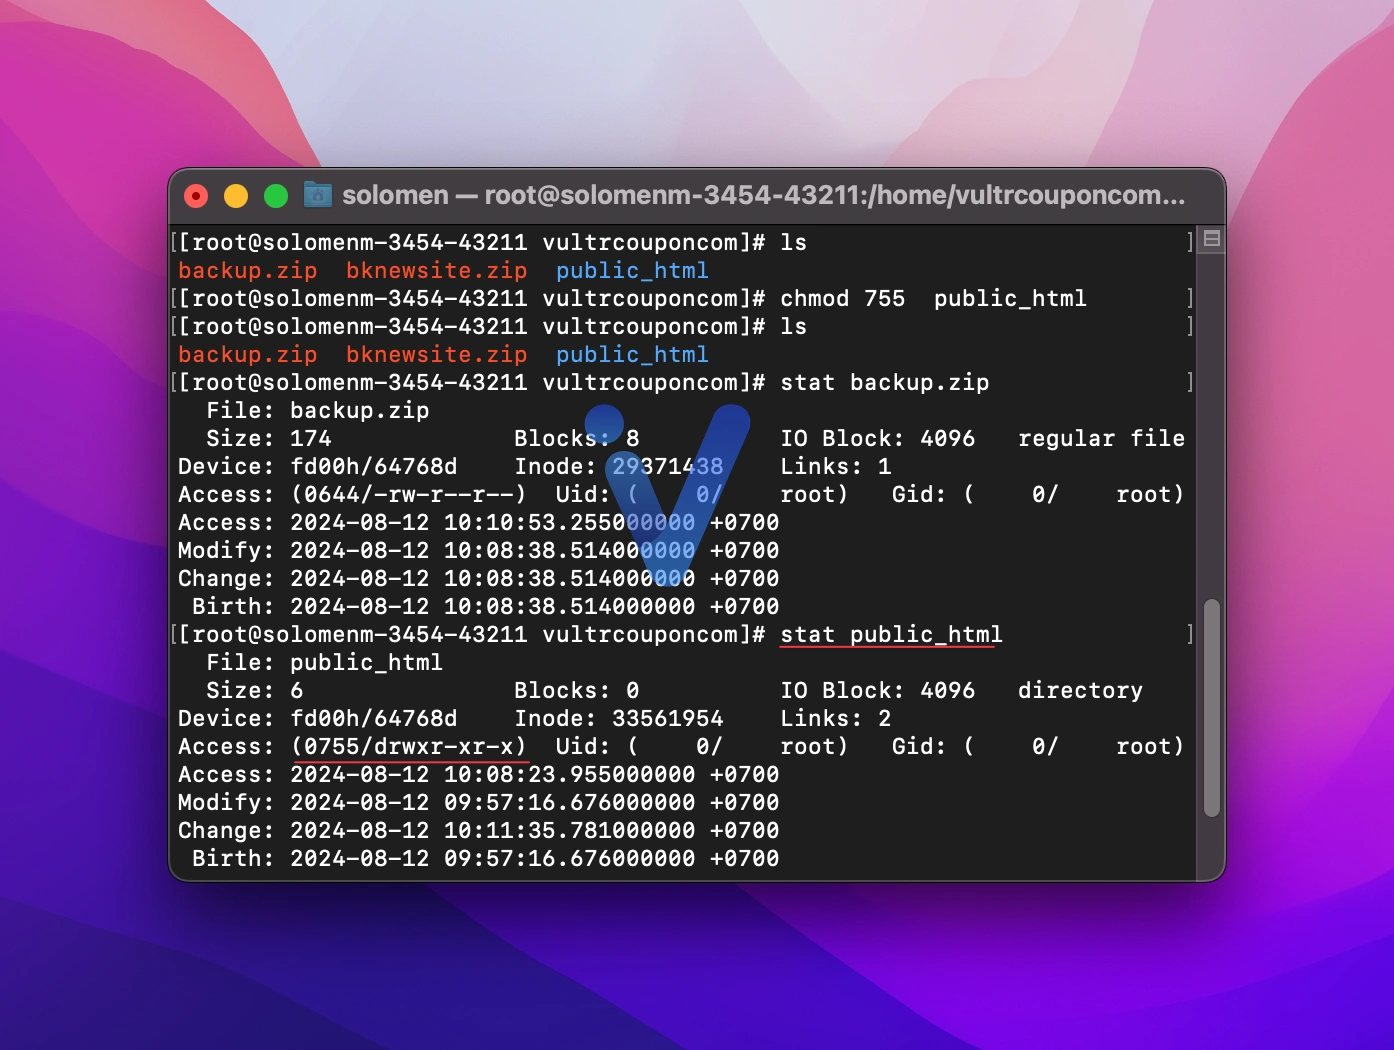
To adjust permissions, use:
chmod <permissions> <file/directory>For example:
chmod 755 script.shIn some cases, you may need to change the permissions of a file or folder. You can use the following command:
chmod [3 numbers] [file/folder name]For example: chmod 777 config.php or chmod 755 public_html
The way to set permissions is as follows: The first digit applies to the owner, the second to the owner’s group, and the third to all other users and groups.
- 7 = Read + Write + Execute
- 6 = Read + Write
- 5 = Read + Execute
- 4 = Read
- 3 = Write + Execute
- 2 = Write
- 1 = Execute
- 0 = All access denied
Managing System with reboot and shutdown
The reboot command restarts the system, while shutdown gracefully turns off the server. Knowing how to execute these commands properly is crucial for system maintenance.
To restart the system immediately, run:
rebootTo shut down the system, use:
shutdown -h nowThis command halts the system immediately.
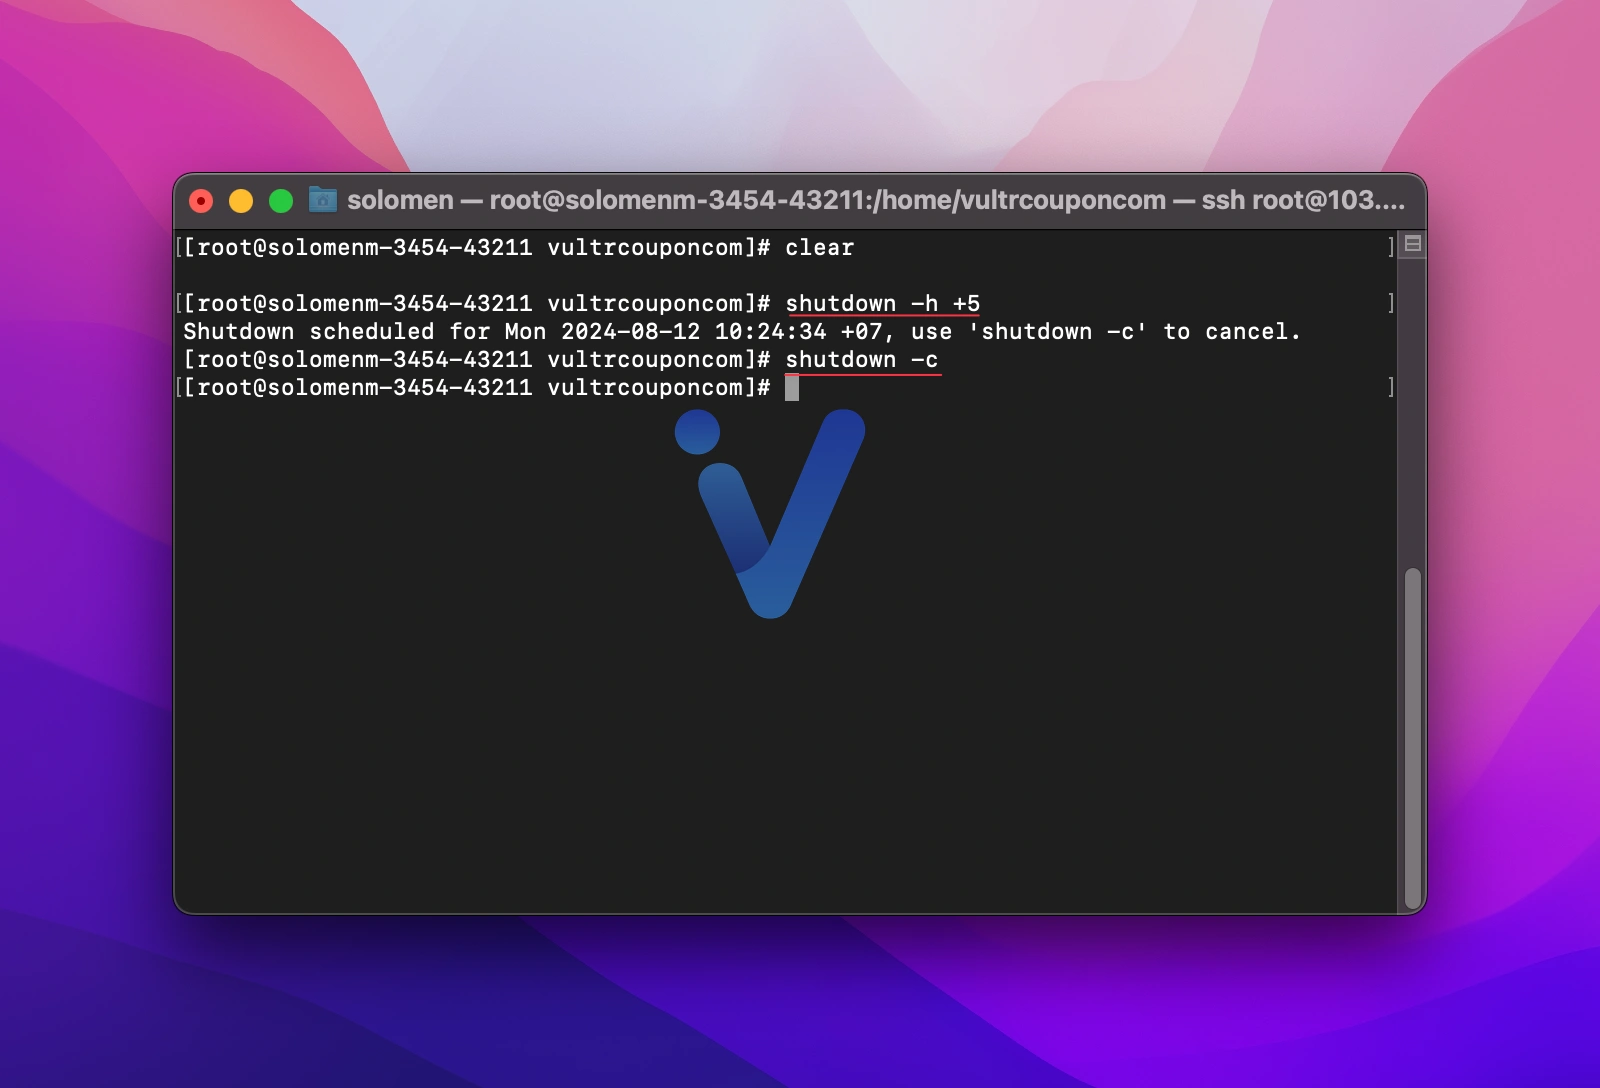
You can schedule a shutdown by specifying a delay:
shutdown -h +5This command shuts down the system after a five-minute countdown, allowing users to save their work.
If you need to cancel a scheduled shutdown, use:
shutdown -cClearing Screen with clear
The clear command removes all previous commands and outputs from the terminal screen, offering a clean slate for continued work.
To clear the terminal window, simply type:
clear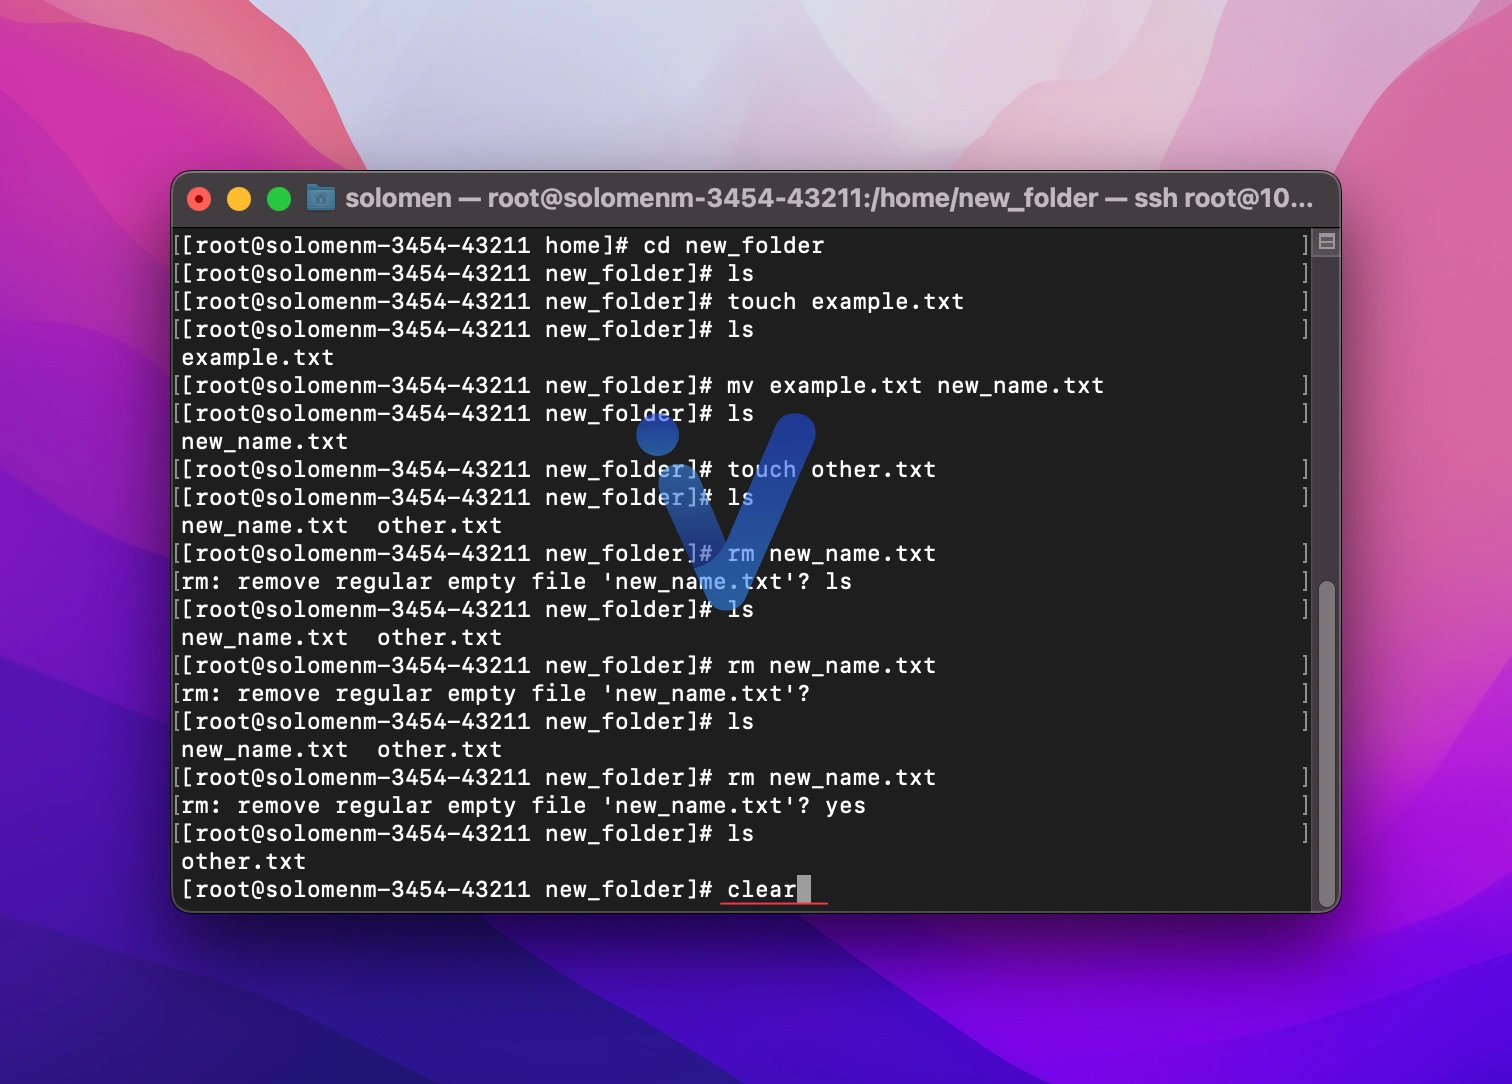
As a convenient alternative, you can use the keyboard shortcut Ctrl + L on Windows (Command + L on Mac) to achieve the same effect.


